
Last updated October 17, 2026
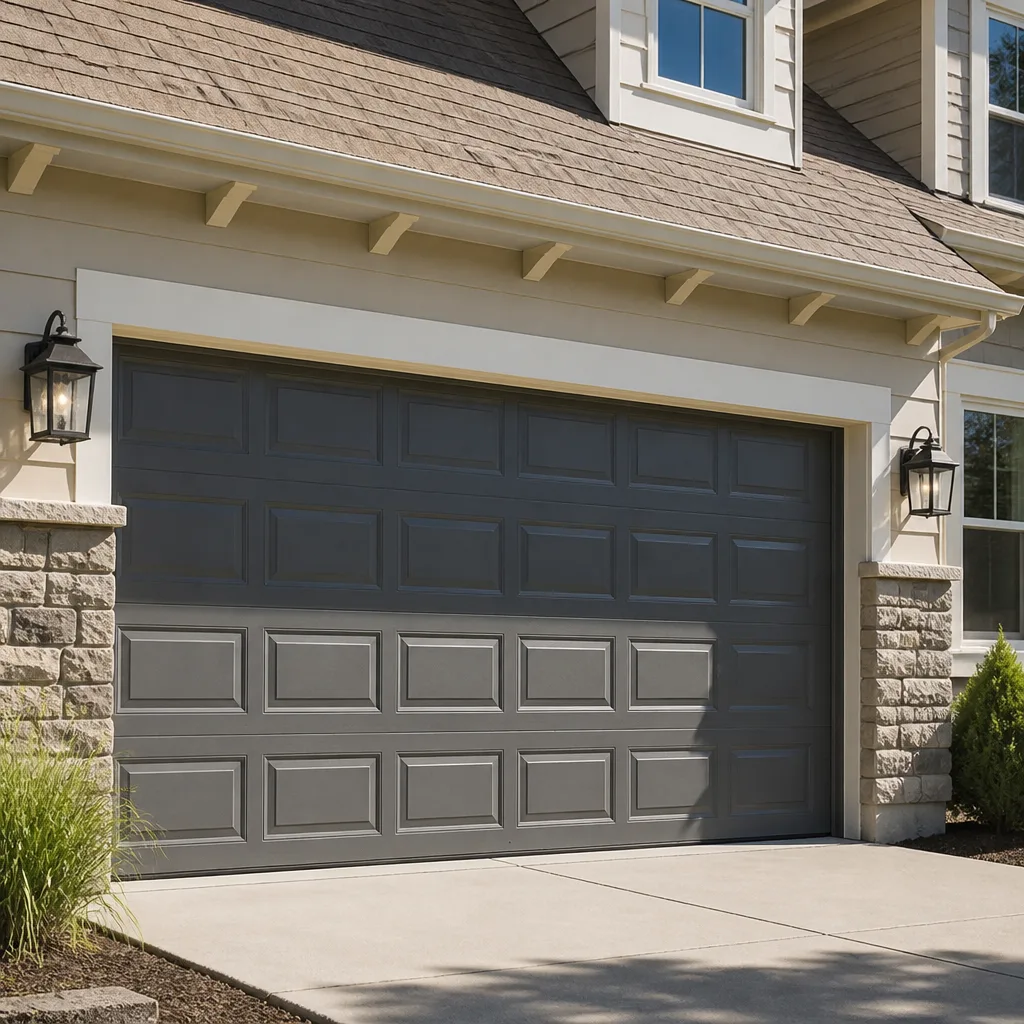 Raised-panel steel
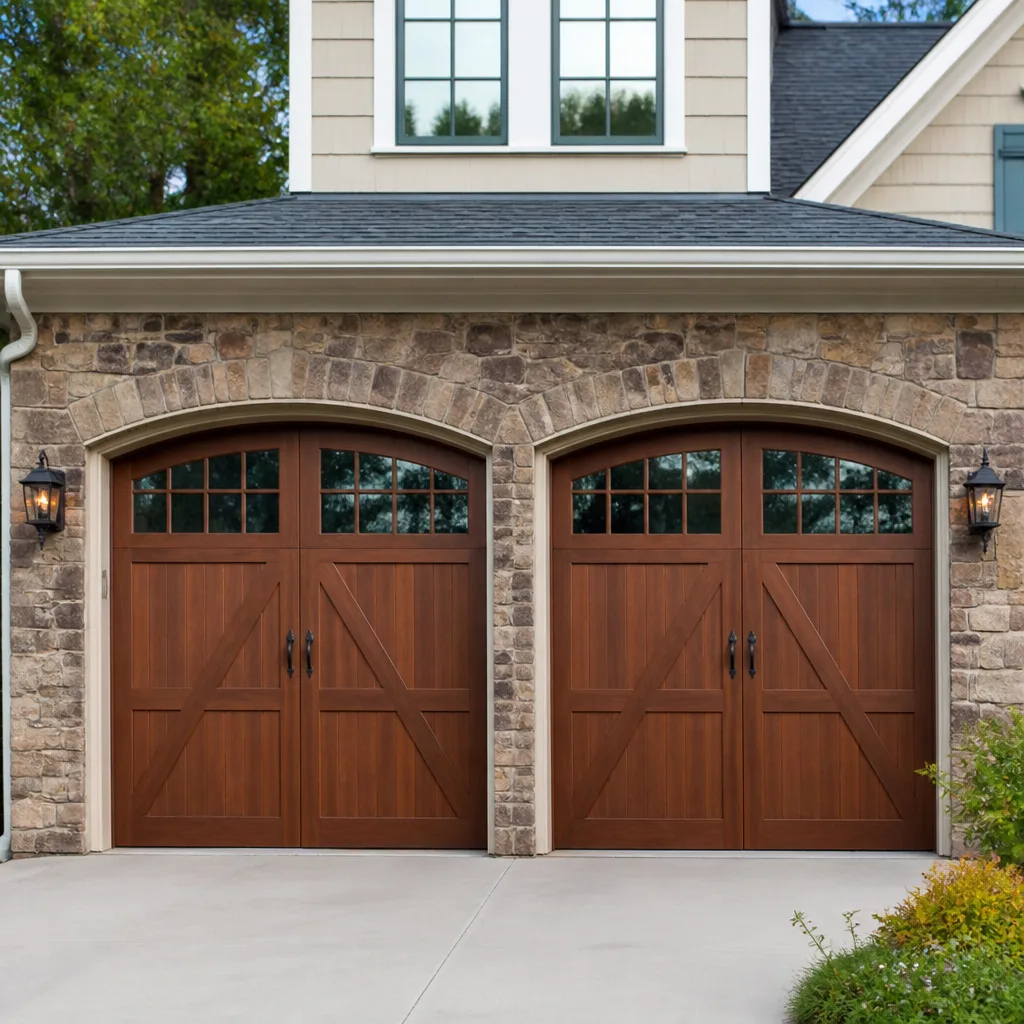 Carriage house
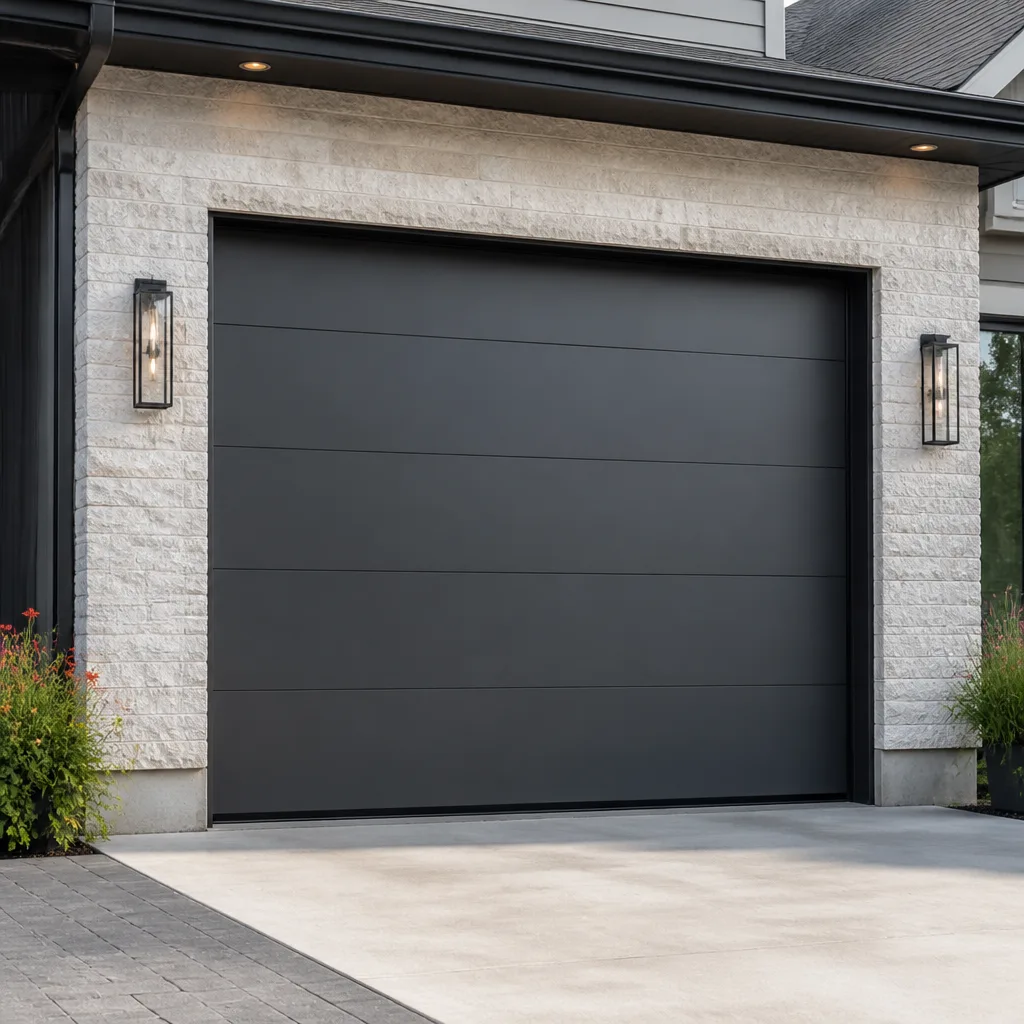 Modern flush
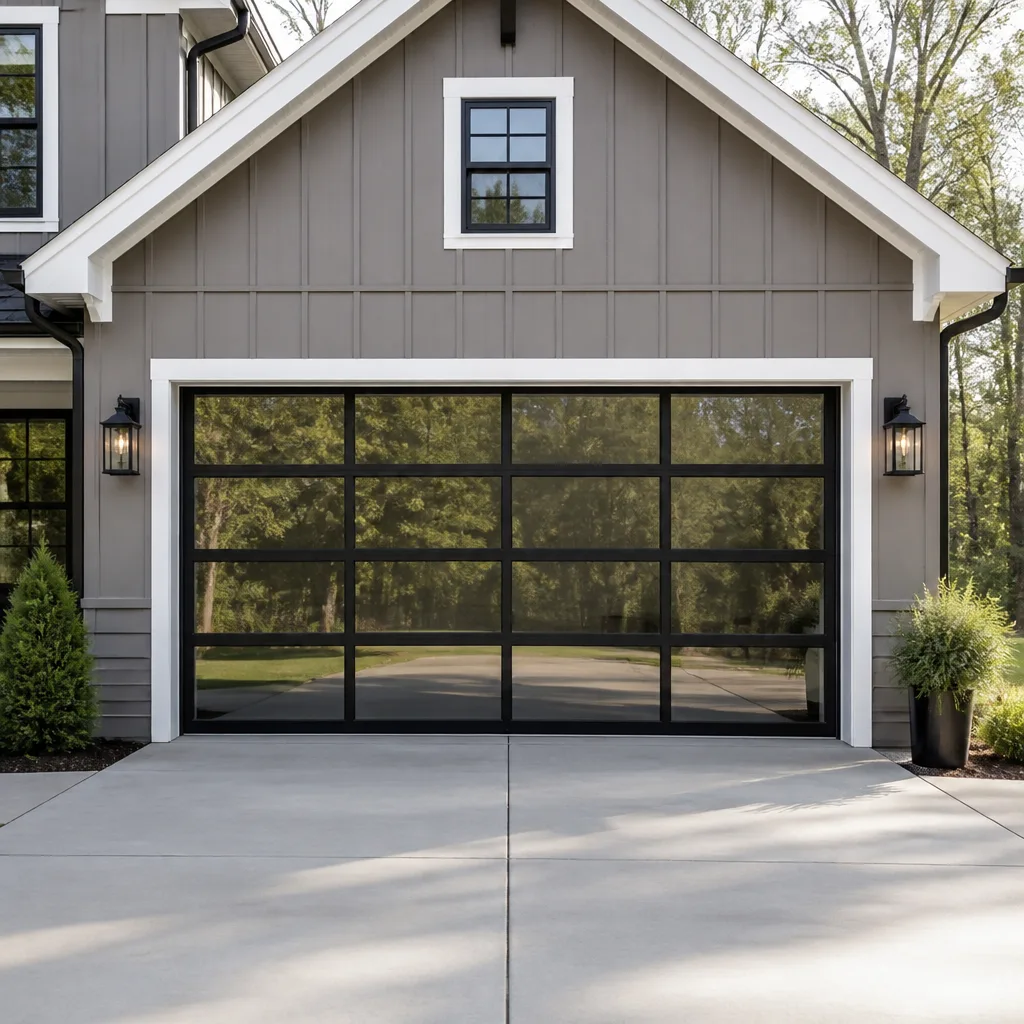 Full-view glass
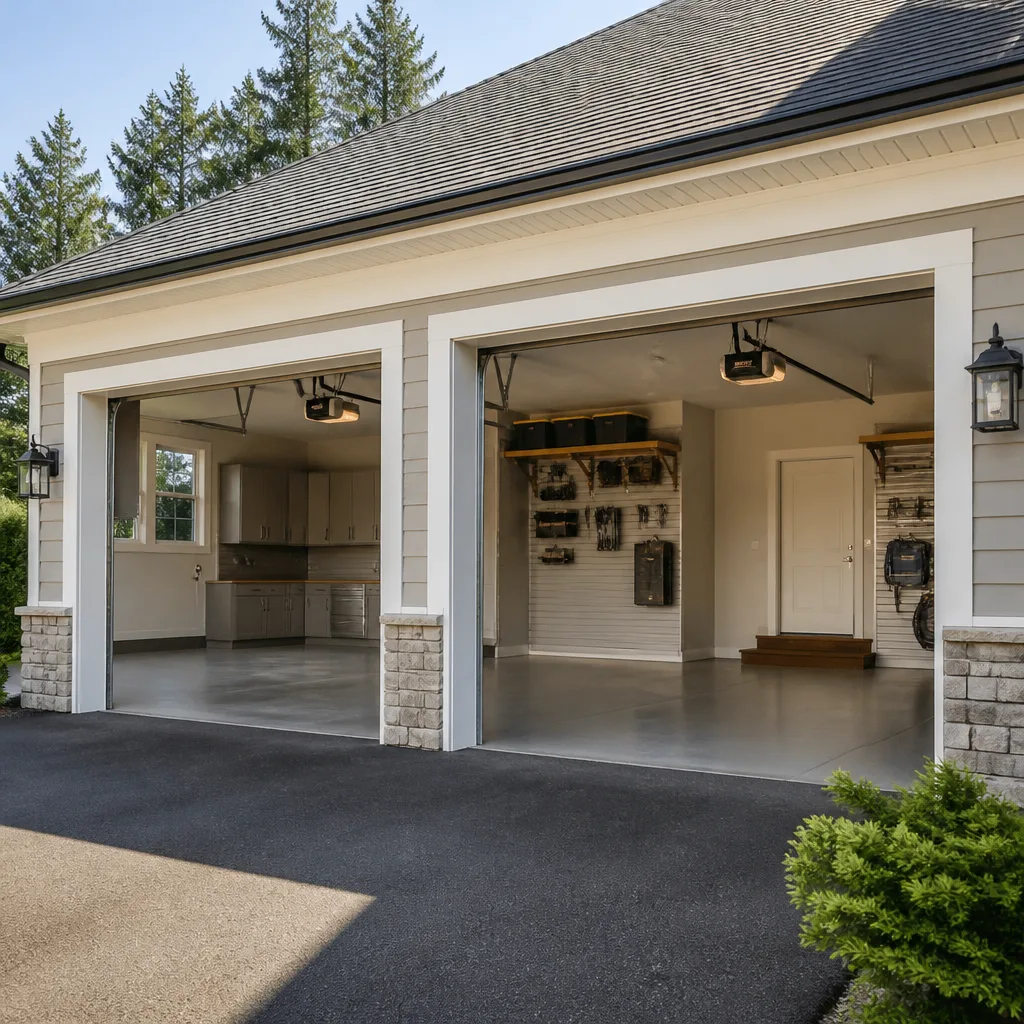 LiftMaster openers
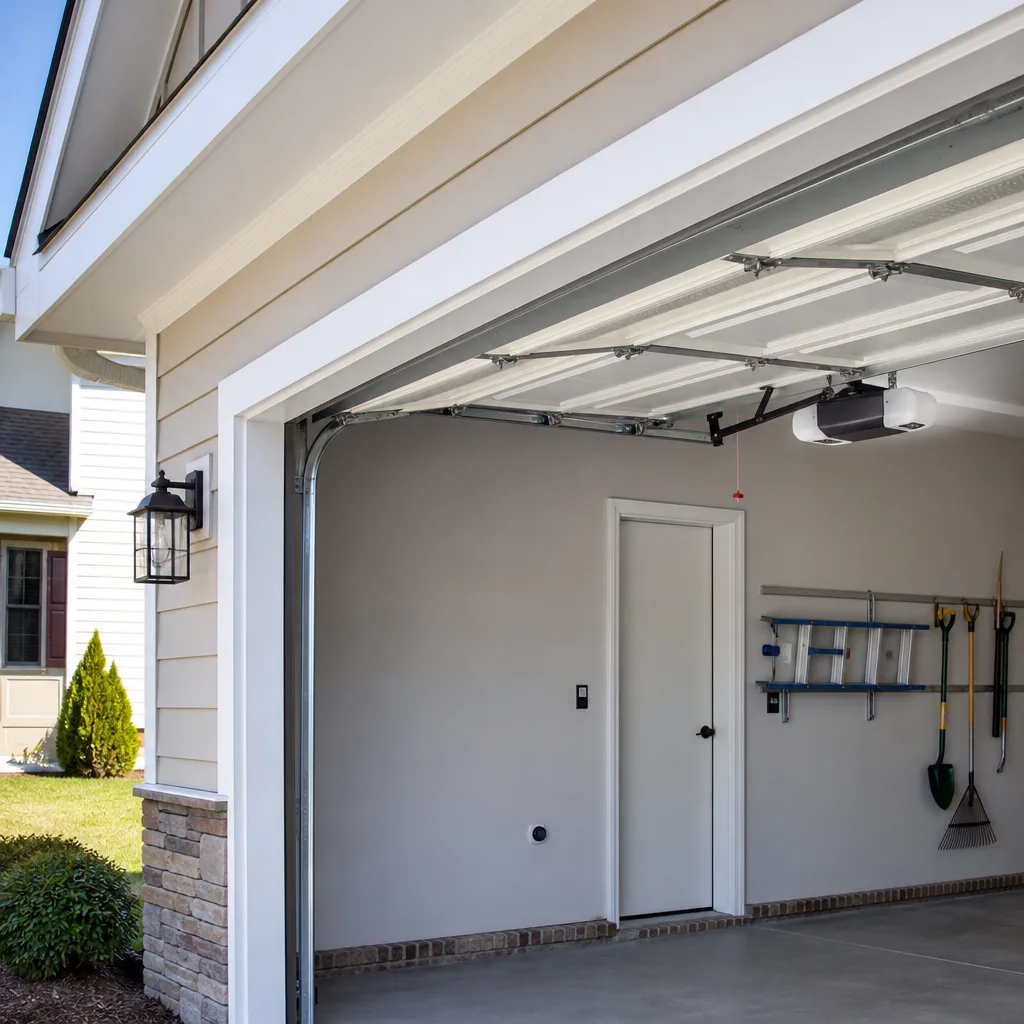 Chamberlain openers
Full 25-point door and opener safety check with every visit - springs, cables, rollers, tracks, and your LiftMaster or Chamberlain opener included
You get a price before we start. It does not change when the truck arrives.
Get your free estimateGarage Door Repair Maintenance Checklist for San Antonio Homeowners
The average emergency garage door service call in San Antonio costs between $180 and $340 and tends to happen on a weekday morning when someone is already running late. In our experience, roughly six out of ten of those calls involve a part that was visibly worn three months earlier. This guide is built around the specific failure patterns we see across San Antonio, from the limestone dust that settles on Alamo Heights tracks to the heat expansion that loosens hardware in Stone Oak, and it will show you how twenty minutes of attention each quarter can prevent most emergency calls entirely.
Quick Answer
A practical garage door maintenance checklist for San Antonio homeowners includes quarterly visual inspections of rollers, cables, and springs, lubrication of moving parts with a silicone-based product twice a year, a balance test every six months, and immediate attention after any hailstorm or high-wind event. The most important months to perform maintenance in San Antonio are May, before the summer heat peaks, and October, before the fall temperature swings begin. Most homeowners can complete the basic checklist in about twenty minutes, and the parts that typically need replacement cost far less than an emergency service call.
Styles & brands we work with
Table of Contents
- Why San Antonio Weather Creates a Different Kind of Wear
- The Quarterly Maintenance Checklist: What to Inspect, What to Listen For, What to Lubricate
- A Month-by-Month Schedule for San Antonio’s Seasons
- Lubrication Points That Dry Out Faster in Texas Heat
- How to Test Spring Tension Safely Without Touching the Springs
- Roller Wear and Cable Fraying: The Measurements That Matter
- Documenting Your Maintenance with a Phone Photo Log
- Common Mistakes to Avoid
- When to Call a Professional
- Frequently Asked Questions
Why San Antonio Weather Creates a Different Kind of Wear
Most garage door maintenance checklists are written for a generic American climate, and they miss what actually happens to doors in San Antonio. We work on doors across the city every week, and the patterns are consistent. The combination of summer heat that regularly exceeds 100 degrees, periods of high humidity, and the fine limestone dust that drifts through neighborhoods near the Hill Country creates three specific problems that a homeowner in Ohio or Oregon simply never sees.
First, heat expansion loosens hardware. The metal track brackets, hinge screws, and bolt plates on a garage door expand and contract daily during a San Antonio summer. Over time, that cycle works screws loose. A door that was perfectly aligned in March can be noticeably rattling by August. Second, the dust here is different. It is finer than typical household dust, and when it mixes with the petroleum-based lubricants that many homeowners use, it forms a grinding paste that accelerates roller and hinge wear. Third, the rapid temperature swings in October and November cause springs to lose tension faster than in more stable climates. A torsion spring that would last ten years in a mild climate might give you seven or eight in San Antonio if it is not monitored.
The good news is that all three of these problems respond to a simple, consistent maintenance routine. None of it requires special tools or mechanical skill. What it requires is doing the right things at the right time of year, which is exactly what this checklist is designed to help you do. If you are looking for a broader overview of the services we provide, our Garage Door Repair in San Antonio page covers common repair scenarios and what they typically cost.
The Quarterly Maintenance Checklist: What to Inspect, What to Listen For, What to Lubricate
Here is the core checklist we recommend for every homeowner in San Antonio. It takes about twenty minutes once you know what you are looking at. Do it in May, August, November, and February, and you will catch most problems before they become emergencies. Walk through each step in order, and keep your phone in your pocket for photos as you go.
- Open and close the door manually (with the opener disengaged). Pull the red release cord while the door is closed, then lift the door by hand. It should lift smoothly with one hand and stay open about three to four feet off the ground on its own. If it feels heavy or drops when you let go, the springs are losing tension. Write down what you feel.
- Watch and listen as the door moves. Look at each roller as it passes through the track. Listen for grinding, squealing, or a rhythmic thumping that repeats with each rotation. A single thump per rotation usually means a flat spot on one roller.
- Inspect the cables on both sides. Look for any broken strands, rust spots, or areas where the cable looks thinner than the rest. Do this from a safe distance. Cables under tension can cause serious injury if they snap.
- Check every bolt and bracket you can see. Use a socket wrench or a crescent wrench to gently test the bolts on the track brackets, the hinge plates, and the opener rail. If any are loose, tighten them just until snug. Do not overtighten; you can strip the threads or bend the track.
- Look at the weatherstripping along the bottom of the door and the sides of the opening. Cracked, brittle, or missing weatherstripping lets heat, dust, and pests into the garage. San Antonio summers are hard on rubber, and this is one of the most common replacements we make.
- Test the auto-reverse safety feature. Place a roll of paper towels or a 2×4 flat on the ground under the door, then close the door on it. The door should reverse within two seconds of contact. If it does not, call a professional immediately. This is a safety feature, not an optional accessory.
- Lubricate the moving parts. Use a silicone-based or lithium-based garage door lubricant, not WD-40. Apply a small amount to each roller bearing, each hinge pivot, the bearing plates at the ends of the torsion spring tube, and the lock mechanism if your door has one. Wipe away any excess with a rag.
This checklist works for every major brand we service, including Chamberlain, Genie, and Clopay doors. The inspection points are the same whether your door is two years old or fifteen. What changes is what you find, which is why the photo log we describe below matters so much over time. If you prefer an installation that starts fresh, our Garage Door Installation in San Antonio page explains the brands we install and how the process works.
A Month-by-Month Schedule for San Antonio’s Seasons
This section is what makes the checklist specific to San Antonio. Most maintenance guides say to inspect your door twice a year and leave it at that. But the failure patterns here follow the weather, and the weather follows a predictable calendar. Here is what we recommend doing each month that matters.
February: Post-Cold Snap Inspection
San Antonio occasionally gets a hard freeze, and when it does, metal contracts. That contraction can crack old rollers, expose hairline fractures in springs, and make brittle weatherstripping crack. In February, after the last freeze has passed, walk through the full quarterly checklist above. Pay special attention to the rollers. A hairline crack in February becomes a shattered roller by April when the heat arrives and the daily expansion cycle begins.
May: Pre-Summer Heat Preparation
May is the most important maintenance month in San Antonio. You want your door in perfect condition before the temperatures climb above 100 degrees in June, July, and August. Lubricate every moving part now, even if you lubricated in February. The silicone or lithium lubricant you applied in February will be mostly gone by May. Tighten every bolt you can reach. Check the spring tension carefully using the method in the section below. If anything feels or sounds off, schedule a repair now. A service call in May is easier to schedule, and the weather is still comfortable enough that a technician can work without rushing.
August: Mid-Summer Check
By August, the heat has done its damage. This is when we see the most emergency calls in San Antonio, and most of them trace back to a roller that seized or a spring that lost tension from the constant thermal cycling. Run the checklist again. Focus on noises. The door should be quiet. Any new grinding or squealing indicates a roller bearing has dried out or worn through. Lubricate again if needed. The heat evaporates lubricant faster than you might expect.
October: Post-Summer Recovery and Pre-Fall Swing
When October arrives and the nights cool down, San Antonio doors experience rapid temperature swings. A door that expands in the afternoon and contracts at night is a door that loosens bolts and flexes joints. Inspect all hardware for looseness. Re-tighten anything that shifted over the summer. Check the weatherstripping again; summer heat bakes rubber until it cracks, and fall is the time to replace it before winter. This is also the right time to do a thorough spring tension test, because the stress of the summer has taken its toll.
After Any Hail Event or Severe Thunderstorm
San Antonio sits in hail alley, and we see garage door damage after almost every significant hailstorm. Hail can dent panels, which changes the door’s weight distribution and stresses the hinges and tracks. Severe thunderstorms with high winds can blow debris into the tracks or knock the door out of alignment. After any storm with hail larger than pea-sized, do a quick visual inspection. Look for dents in the panels, check that the door still opens and closes smoothly, and listen for new noises. If the door was hit hard enough to dent, it may have also bent a track or shifted a hinge, and those problems compound quickly.
Lubrication Points That Dry Out Faster in Texas Heat
Lubrication is the single most impactful thing a San Antonio homeowner can do for a garage door, and it is also the thing most people do incorrectly. The wrong product makes things worse. The right product, applied to the right spots, extends the life of every moving part and noticeably quiets the door.
The product type matters more than the brand. Use a silicone-based or lithium-based spray lubricant designed specifically for garage doors. These products dry to a non-tacky film that lubricates without attracting dust. Do not use WD-40, penetrating oil, motor oil, or grease. Those products stay wet and sticky, and in San Antonio’s limestone dust environment, they collect grit within days. That grit works into the roller bearings and hinge pivots and grinds them down from the inside. We have replaced rollers in San Antonio homes that were destroyed by the very lubricant the homeowner was using to protect them.
The specific points to lubricate, in order:
- Roller bearings: Each roller has a small bearing assembly at its center. A one-second spray on each bearing is all it needs. If the roller does not have exposed bearings (some nylon rollers are sealed), skip it.
- Hinge pivots: Every hinge on the door has a pivot point where the two halves meet. Spray each one lightly.
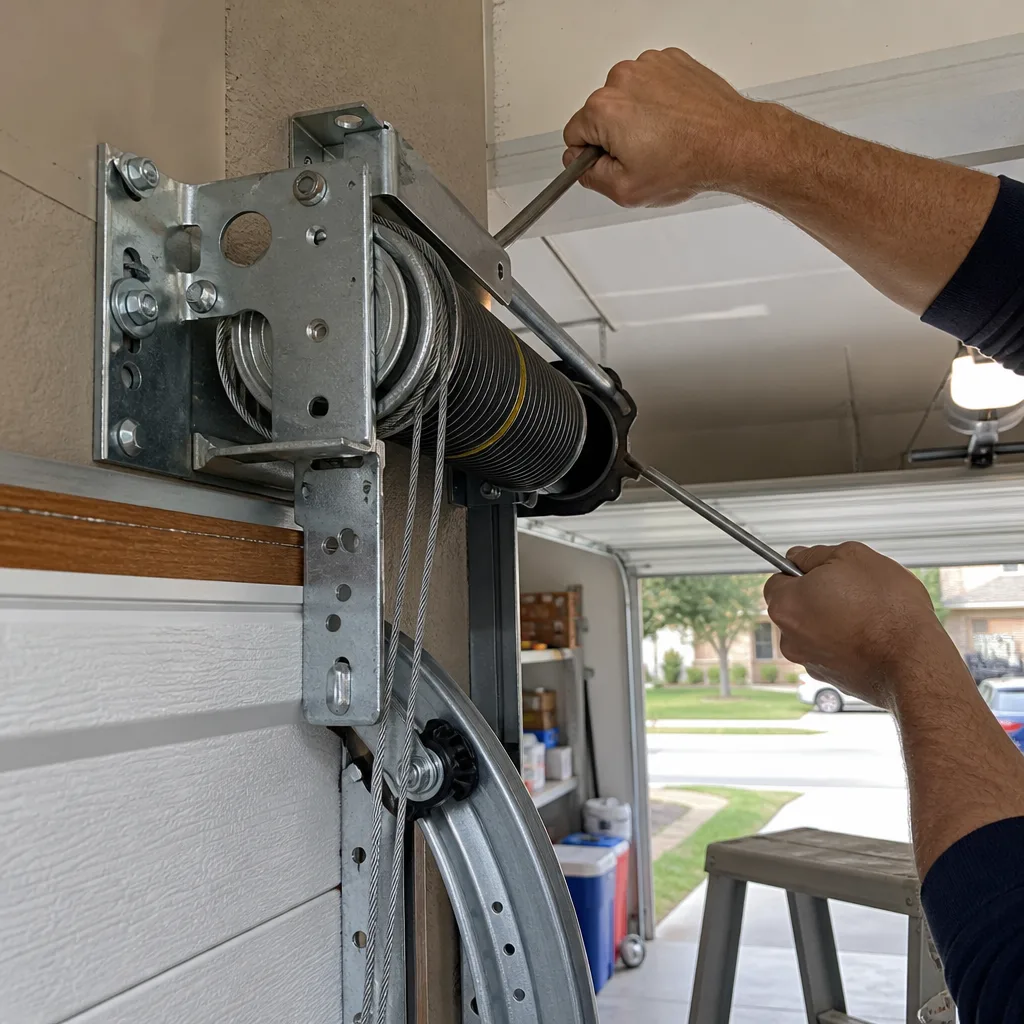
- Spring bearing plates: For torsion spring systems, there are bearing plates at each end of the spring tube. A light spray reduces friction and noise.
- Locks and latches: If your door has a manual lock or a slide latch, lubricate the moving parts. These seize up more often in humid weather.
- The opener rail: If you have a screw-drive opener, apply a light coat of lithium grease to the rail. For belt or chain drives, do not lubricate the belt or chain; instead, check the tension and clean any debris.
Wipe away any excess lubricant after spraying. A thin film is all you need. More is not better, and the excess will just drip onto the door and collect dust. In our experience, doors in San Antonio need lubrication twice a year minimum, and three times a year is better if you live near open land, construction, or the Hill Country corridor where dust is more prevalent.
How to Test Spring Tension Safely Without Touching the Springs
Garage door springs are dangerous. A torsion spring under full tension stores enough energy to cause serious injury or death if it is mishandled. We do not recommend that any homeowner touch, adjust, or replace garage door springs themselves. What we do recommend is learning to read the signs that indicate a spring is losing tension or approaching failure, because those signs are visible and audible without ever touching the spring itself.
The visual test: Look at the torsion spring above the door. When the spring is healthy and properly tensioned, the coils are evenly spaced with no visible gaps except at the very ends where the spring seats against the bearing plate. If you see a visible gap in the coils anywhere in the middle of the spring, that is a fracture. The spring is broken and needs replacement. A spring that is nearing the end of its life may also show rust, and rust on a spring is not cosmetic; it is structural. A rusted spring is weaker than a clean one, and it is more likely to break.
The audio test: Open and close the door and listen. A healthy spring is quiet. A spring that is losing tension or beginning to fail often produces a creaking or groaning sound as the door moves. This sound comes from the coils rubbing against each other unevenly, and it is one of the clearest warning signs we know of. If your door creaks every time it moves, the spring is the first thing to investigate.
The balance test: Disconnect the opener with the red release cord, then manually lift the door to about waist height and let go. A properly balanced door will stay in place or move very slowly. If it drops, the spring is under-tensioned. If it flies upward, the spring is over-tensioned. Either condition means the spring is not doing its job, and its failure is usually measured in months, not years. In our experience, a door that drops noticeably when released at waist height has a spring that is typically within ninety days of failure. For specifics on what spring replacement involves, see our Garage Door Spring Repair in San Antonio page.
A note on safety: if you see a gap in a torsion spring, do not operate the door. A broken spring can cause the door to crash down unexpectedly, and the stored energy can release violently. Call a professional. Spring replacement is not a DIY job, and it should never be attempted by someone without the proper tools and training.
Roller Wear and Cable Fraying: The Measurements That Matter
Knowing when to replace a roller or a cable is the difference between a $40 part replacement and a $300 emergency repair. The thresholds below are specific enough that you can make a confident judgment call without any special equipment beyond your eyes and a measuring tape.
Roller wear thresholds: Your door has rollers on both sides, usually ten to twelve total depending on the door height. Each roller has a wheel and a bearing. The wheel can be steel or nylon, and the bearing can be sealed or unsealed. Here is what to look for on each roller:
- Visible cracks in the wheel: Any crack, no matter how small, means the roller needs replacement. It will fail, and it will likely fail when the door is under load.
- Flat spots: Run your finger along the rim of the roller (with the door closed and the opener disengaged). If you feel a flat spot instead of a smooth curve, the roller has been sliding instead of rolling. Replace it.
- Wobble: With the door closed, grab the roller stem and try to wiggle it side to side. A tiny amount of play is normal. If the wheel moves more than about 1/16 of an inch, the bearing is worn.
- Noise: A roller with a failing bearing makes a distinctive sound, a dry rattling or screeching that changes pitch as the door moves. If you hear it, the roller is done.
Cable fraying thresholds: The cables are the steel wires that run along each side of the door and connect to the bottom brackets. They carry the door’s weight when the spring assists, and a snapped cable is a genuinely dangerous event. Look for:
- Any individual broken strand: A single broken wire strand means the cable has already lost some of its rated strength. Replace it this week.
- Rust: Rust on a cable is more serious than rust on a roller bracket. Rust weakens steel cable quickly, and a rusted cable can snap without warning. Replace any cable with visible rust.
- Fraying or “bird-caging”: If the individual strands of the cable are separating from each other, the cable is failing. This often happens near the bottom bracket. Replace it immediately.
- Kinks: A kinked cable will not feed smoothly through the pulley, and it will eventually catch and snap. Replace any kinked cable.
Here is the rule we use ourselves: if a roller or cable shows any of the signs above, it is a “schedule this week” situation, not a “monitor it” situation. These parts do not heal, and they do not improve. They only get worse, and the failure mode is rarely gentle.
Documenting Your Maintenance with a Phone Photo Log
One of the most useful things a San Antonio homeowner can do is also the simplest: photograph your door’s wear points every time you do maintenance. A photo log gives you a baseline, shows you changes over time, helps a repair technician diagnose problems faster, and provides documentation for insurance claims if hail or storm damage occurs.
What to photograph, and when:
- Before each quarterly inspection: Take a wide shot of the entire door from inside the garage, showing both tracks, the springs, and the cables. This gives you a timestamped record of the door’s condition at each inspection.
- Close-ups of wear points: Photograph each roller, each cable end, and the spring coils. Use your phone’s zoom to get close enough that you can see individual coils and strands.
- After any storm or hail event: Photograph the outside of the door immediately after the storm, before any cleaning. Hail damage is easier to document when the dents are fresh and the light shows them clearly.
- After any professional service: Photograph the repaired or replaced parts. This gives you a record of what was done and when.
How to use the photo log:
- Compare images from inspection to inspection. A roller that looked fine in February and has a visible crack in May is a trend, and trends tell you what to expect. Two or three data points are often enough to predict when a part will need replacement.
- Show a technician the before and after. When you call for service, a quick flip through your photo log can answer most diagnostic questions before the technician even arrives. It saves time and helps us bring the right parts on the first trip.
- File an insurance claim with confidence. If hail or a storm damages your door, the photos you took before the event prove the door’s prior condition. Insurance adjusters respond to documentation, and a clear photo timeline makes your claim much harder to dispute.
- Using WD-40 or penetrating oil as a garage door lubricant. These products are designed to free stuck parts, not to lubricate moving components long-term. They stay wet, attract dust, and create a grinding paste that destroys rollers and hinges. Use a silicone-based or lithium-based garage door lubricant instead.
- Ignoring a noisy door because it still opens. A garage door should be quiet. New grinding, squealing, or thumping sounds are always a warning sign, and they never resolve themselves. By the time a noisy door becomes a broken door, the repair is almost always more expensive.
- Testing the spring by touching it. Never touch, tap, or probe a torsion spring. The visual and audio tests described above are safe and effective, and they require no contact with the spring itself.
- Skipping the auto-reverse test because it is inconvenient. The auto-reverse feature exists to prevent a child or pet from being crushed under a closing door. It is the single most important safety feature on your door, and testing it takes thirty seconds with a roll of paper towels.
- Lubricating the belt or chain on a belt-drive or chain-drive opener. Belts and chains should not be lubricated. Lubricant attracts dirt and causes the belt or chain to slip or wear prematurely. If the belt or chain is noisy, the tension needs adjustment, not oil.
- Waiting until the door fails to call for help. The most expensive service calls we make in San Antonio are the ones that could have been avoided with a $40 part replacement three months earlier. If you see a cracked roller or a frayed cable, the problem is not going to fix itself.
The photo log takes two minutes per inspection and costs nothing. In our experience, homeowners who keep one are consistently better at catching problems early, and they spend dramatically less on emergency repairs over the life of the door.
Common Mistakes to Avoid
When to Call a Professional
Some things are safely within a homeowner’s reach, and some are not. If you notice a visible gap in the torsion spring coils, a frayed or rusted cable, or a roller that has come out of the track, stop using the door and call a professional. These are not maintenance items; they are repairs that require the right contractor, training, and replacement parts. The same is true if your door fails the balance test, if the auto-reverse feature does not work, or if the door has been hit hard enough by hail or a vehicle that the tracks are visibly bent. Fernbrook Garage Doors San Antonio offers free estimates throughout the San Antonio area, and a live person answers the phone 24 hours a day, 7 days a week. Call (806) 602-8374 and we will walk you through what we are seeing over the phone, then send a uniformed technician with the right parts to get your door working safely again.
Frequently Asked Questions
Most garage door repairs in San Antonio fall between $120 and $300 depending on the part and the labor involved. Common fixes like roller replacement, hinge replacement, or a lubrication and tune-up run on the lower end, while spring replacement and opener repair run on the higher end. Fernbrook Garage Doors San Antonio provides a written price before any work begins, so you will know the exact cost before you approve anything. Call (806) 602-8374 for a free estimate.
Lubricate your garage door at least twice a year in San Antonio, and three times a year if your home is near open land, construction, or the Hill Country corridor where dust is more prevalent. The silicone-based or lithium-based lubricant breaks down faster in San Antonio’s summer heat, so a May application and an October application are the minimum for most homes.
No. Garage door springs are under extreme tension and can cause serious injury or death if mishandled. Spring replacement requires specialized tools, training, and experience. If you suspect your spring is broken or failing, leave the door alone and call a professional. Fernbrook Garage Doors San Antonio dispatches technicians trained on eight major brands, and we carry the correct springs on the truck.
A broken torsion spring often makes a loud bang that sounds like a gunshot or a car backfiring, and you may find a gap in the spring coils when you look at the spring above the door. A spring that is failing but not yet broken may creak or groan every time the door moves. Either sound deserves immediate attention.
Torsion springs in San Antonio typically last between 7 and 10 years, which is shorter than the national average because the heat and temperature swings cause metal fatigue more quickly. Most manufacturers rate their springs for 10,000 cycles, which translates to roughly 7 to 9 years of normal use for a family that opens the door three to four times a day.
Yes. Twenty minutes of maintenance three or four times a year catches the small problems, like a cracking roller or a fraying cable, before they become emergency repairs. A $40 roller replacement scheduled at your convenience costs a fraction of a $250 emergency service call on a weekday morning. The math is straightforward, and the peace of mind is real. If you would rather have a professional handle the maintenance, Fernbrook Garage Doors San Antonio offers free estimates, and you can reach a live person at (806) 602-8374 any time.
The Bottom Line
A garage door in San Antonio does not wear out the way a garage door in most of the country does. The heat, the dust, and the seasonal swings create specific failure patterns, and a maintenance routine built around those patterns is the most effective way to avoid emergency repairs. Do the quarterly checklist, lubricate with the right product twice a year, learn to read your springs without touching them, and keep a simple photo log. If anything on the checklist gives you pause, call (806) 602-8374 for a free estimate. Fernbrook Garage Doors San Antonio sends background-checked, uniformed technicians who put on shoe covers before they walk onto your floors, explain the price before any work begins, and send you a photo of the clean-up before they leave. See our Fernbrook Garage Doors San Antonio home page to learn more about how we work.
Written by Jesse Calder, Owner at Fernbrook Garage Doors San Antonio, serving San Antonio since 2002.
See the difference
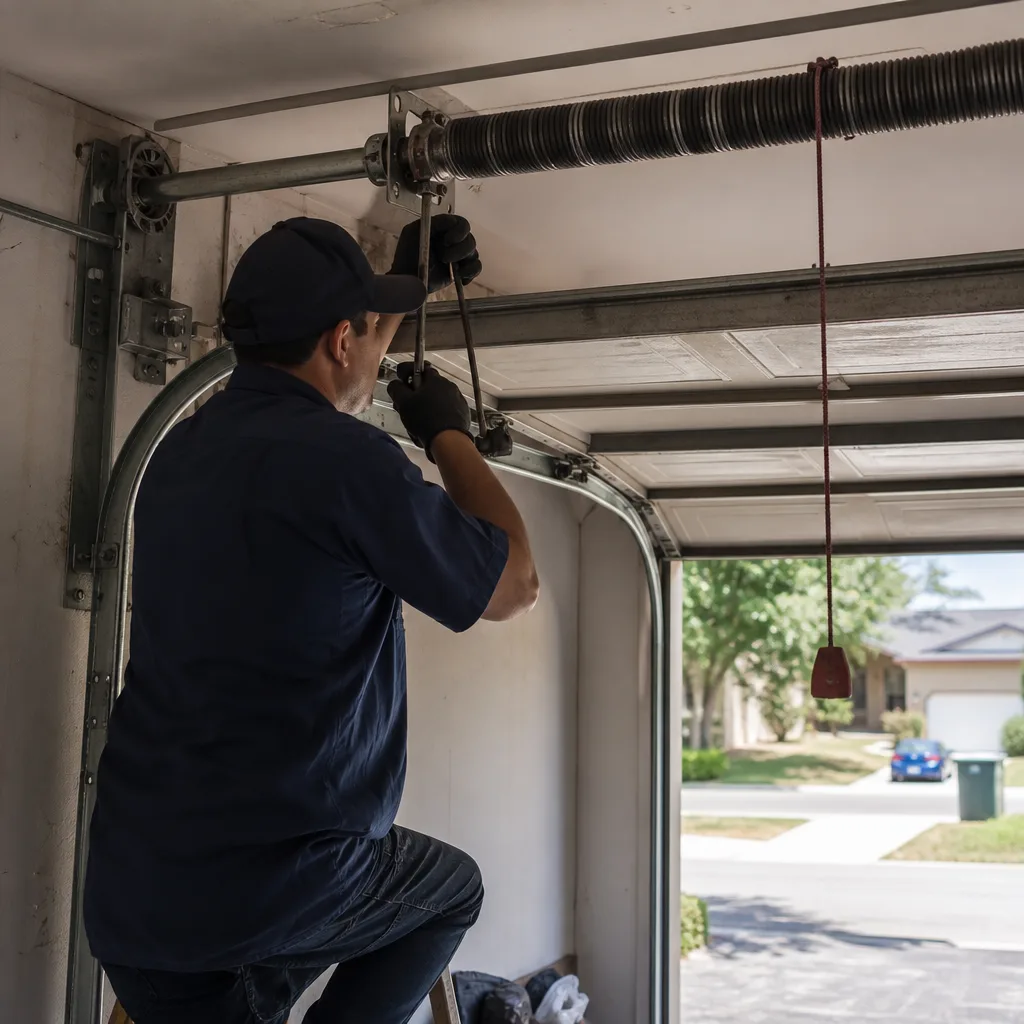 Before
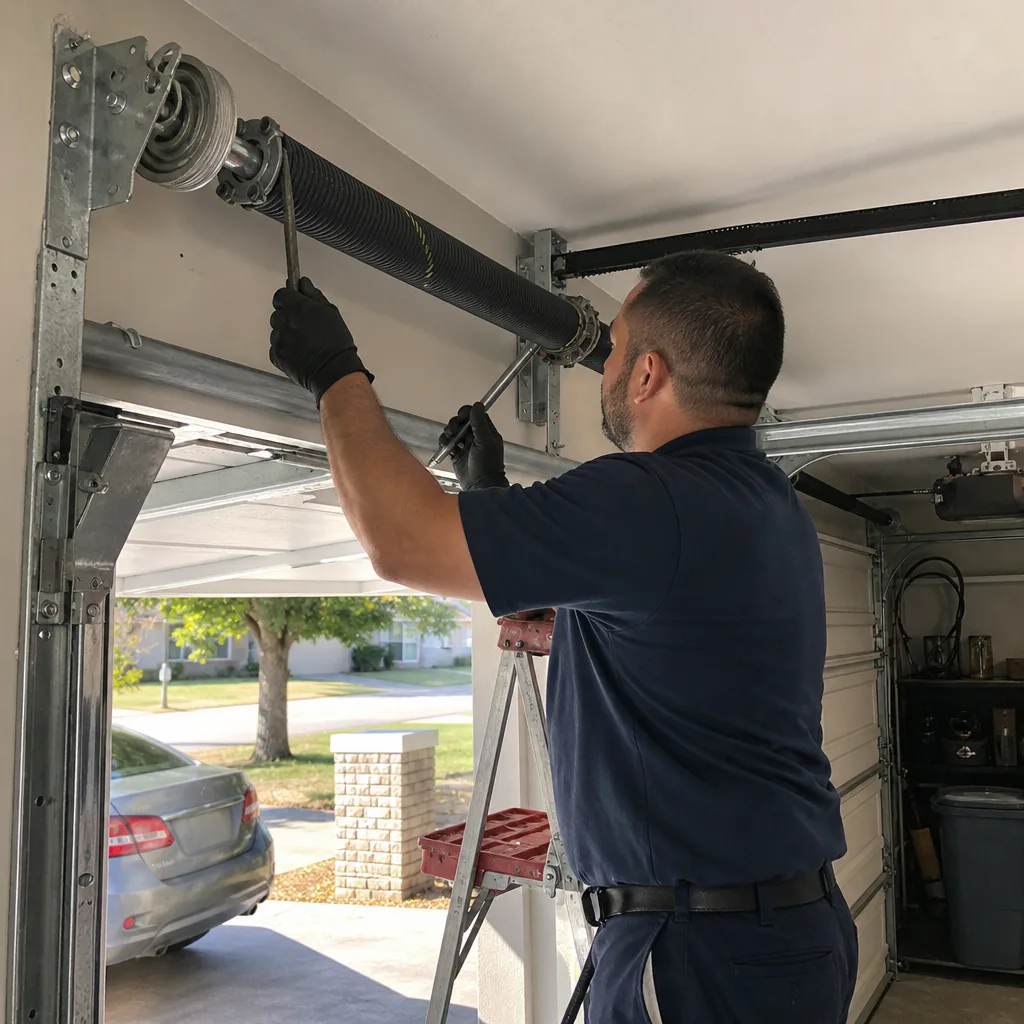 After
After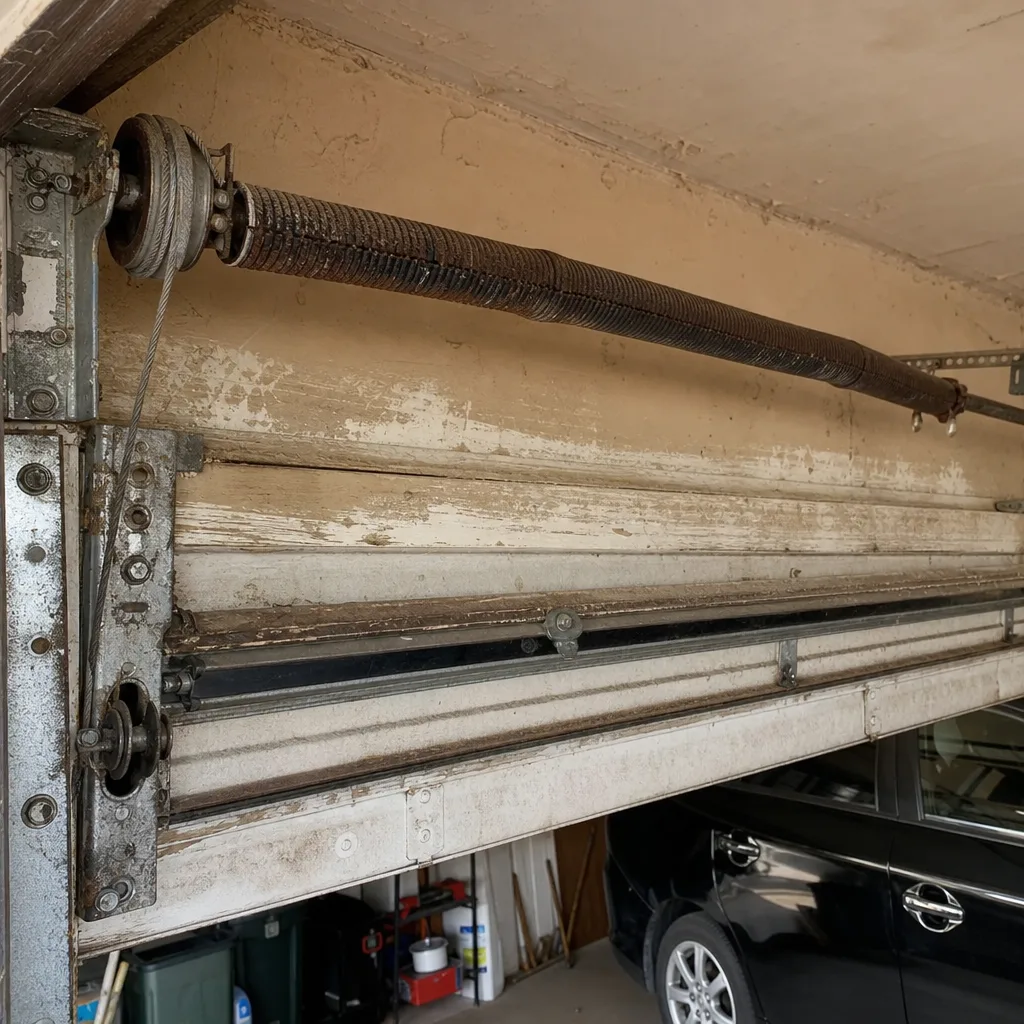 Before
 After
After Before
 After
After