
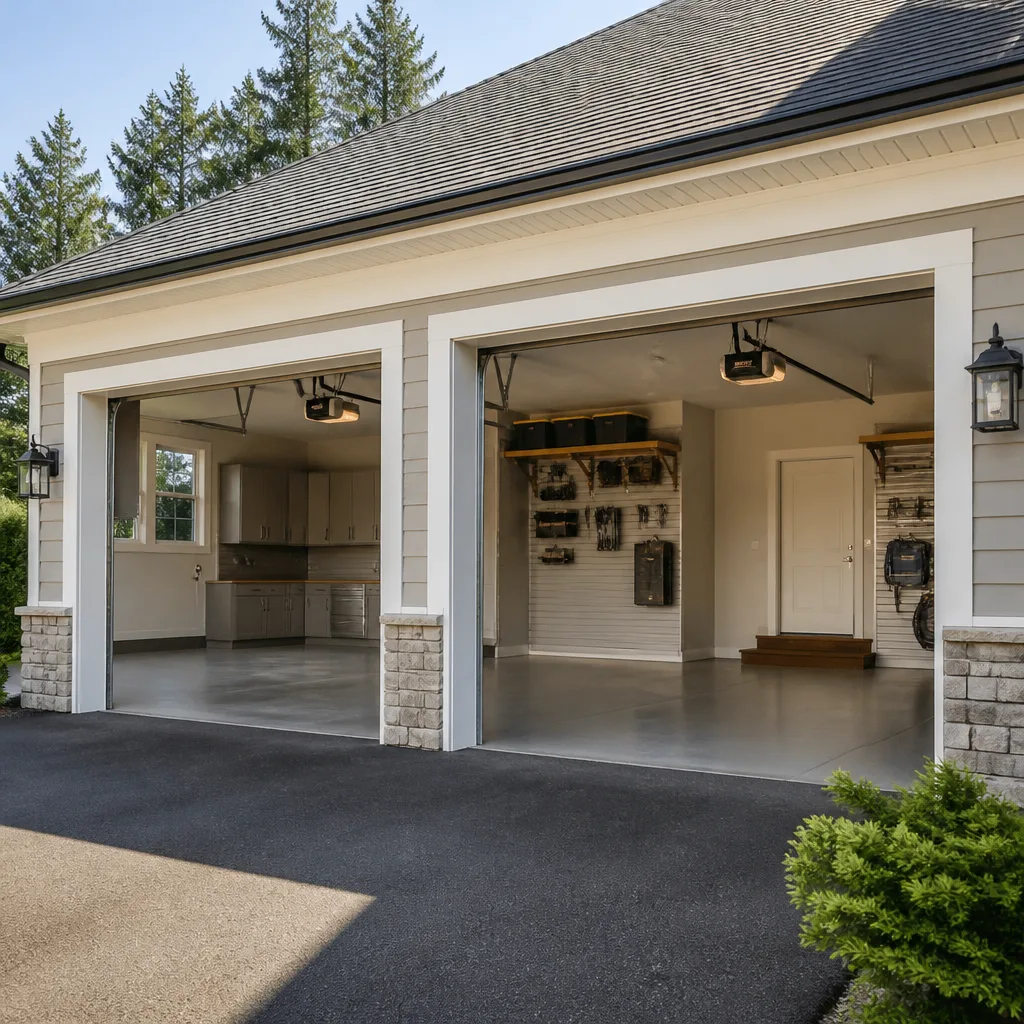
 LiftMaster openers
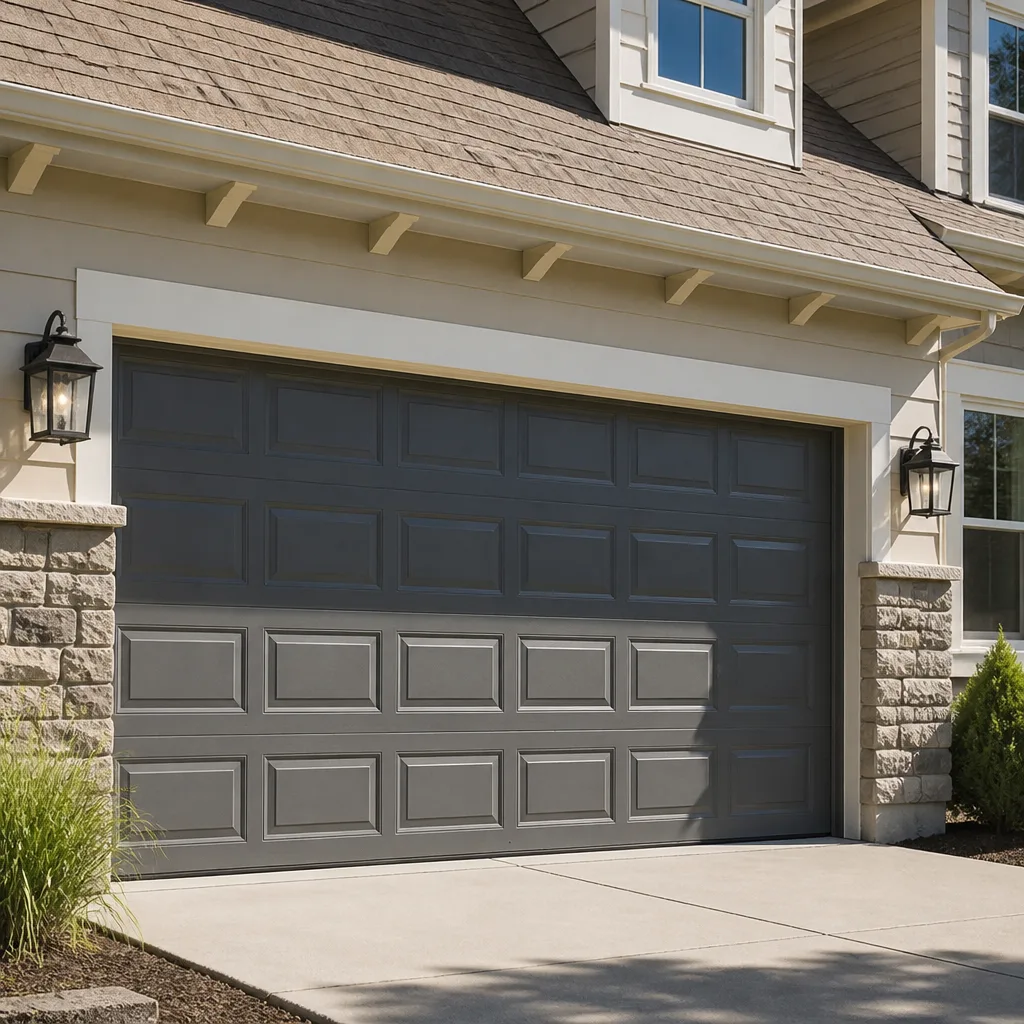 Raised-panel steel
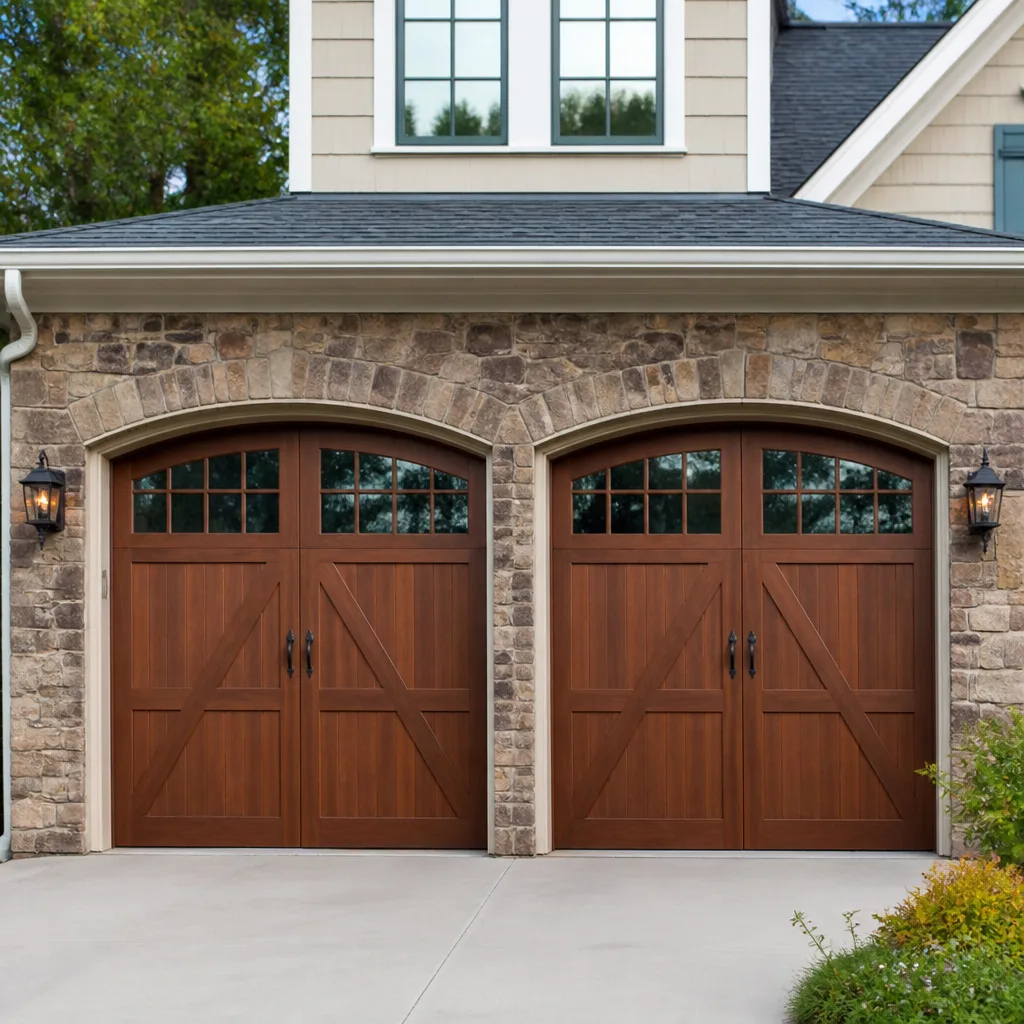 Carriage house
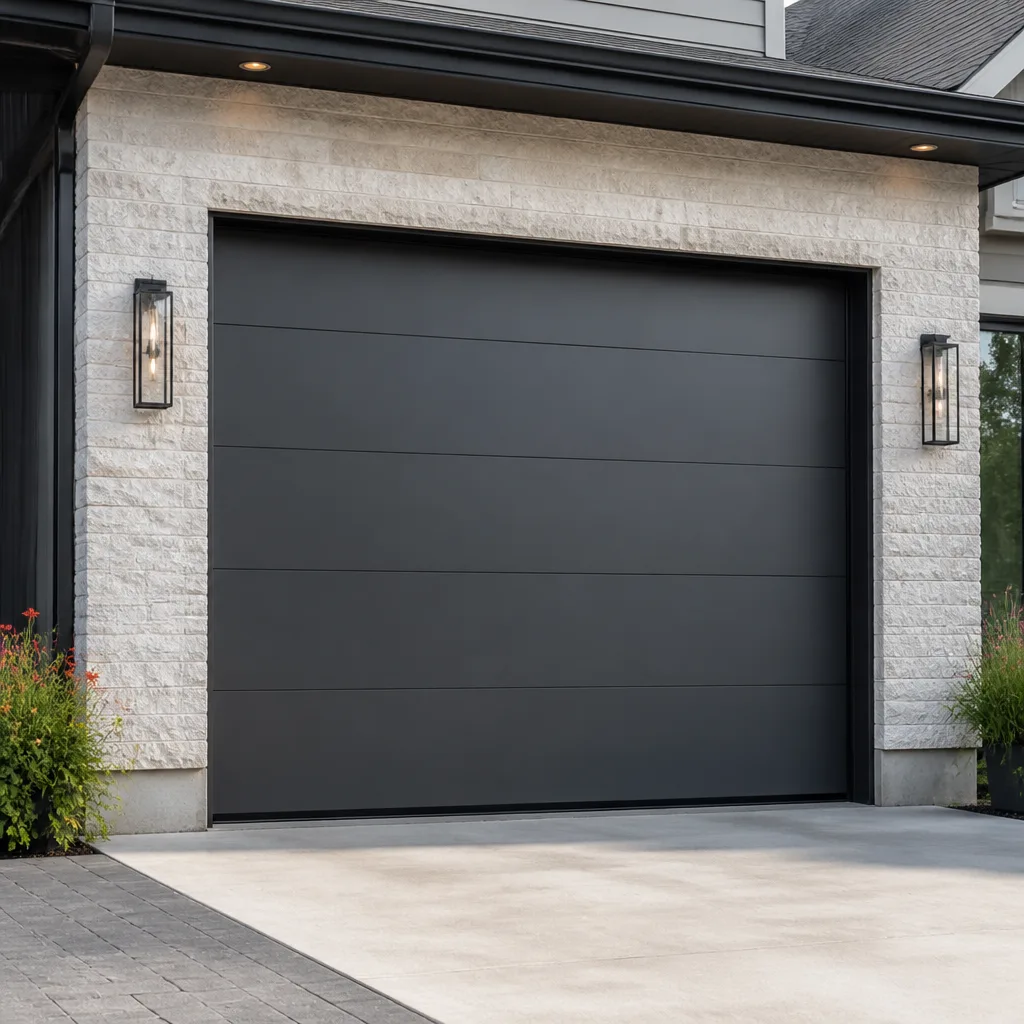 Modern flush
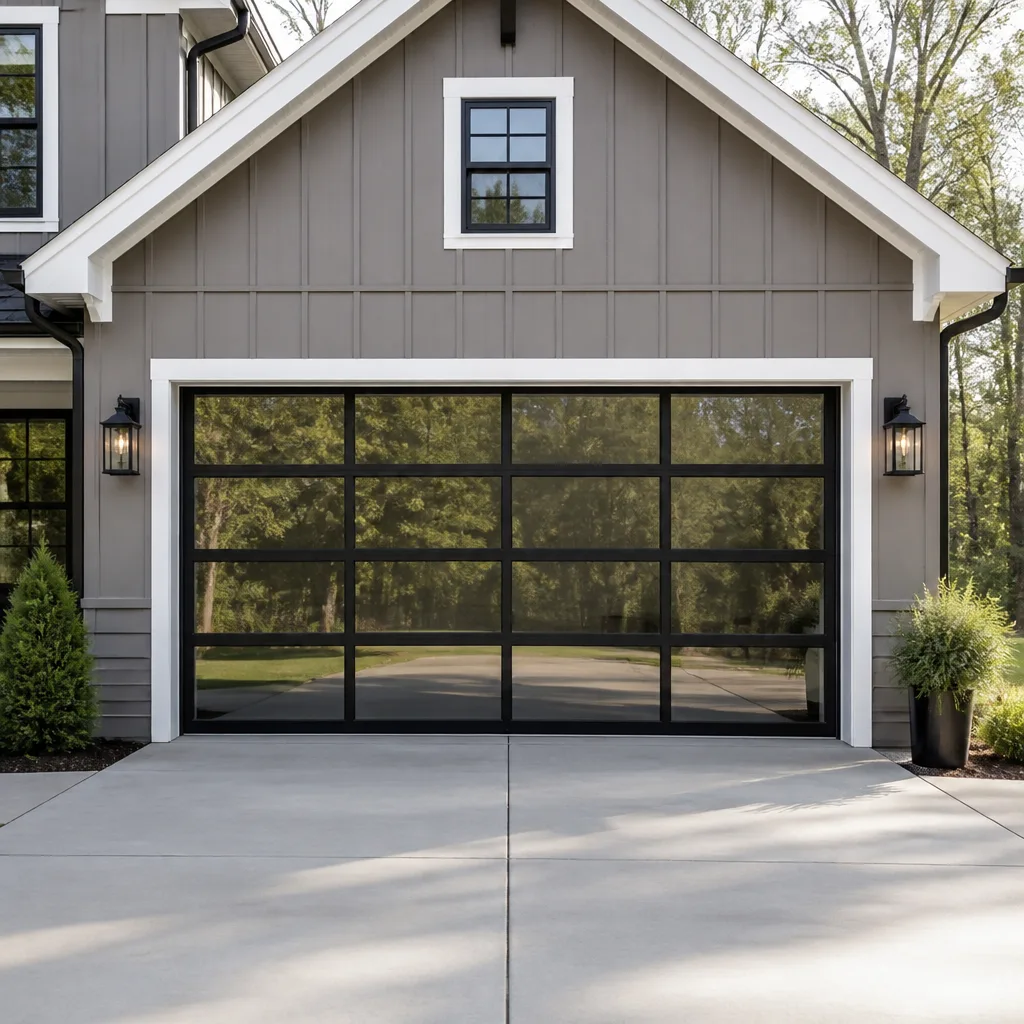 Full-view glass
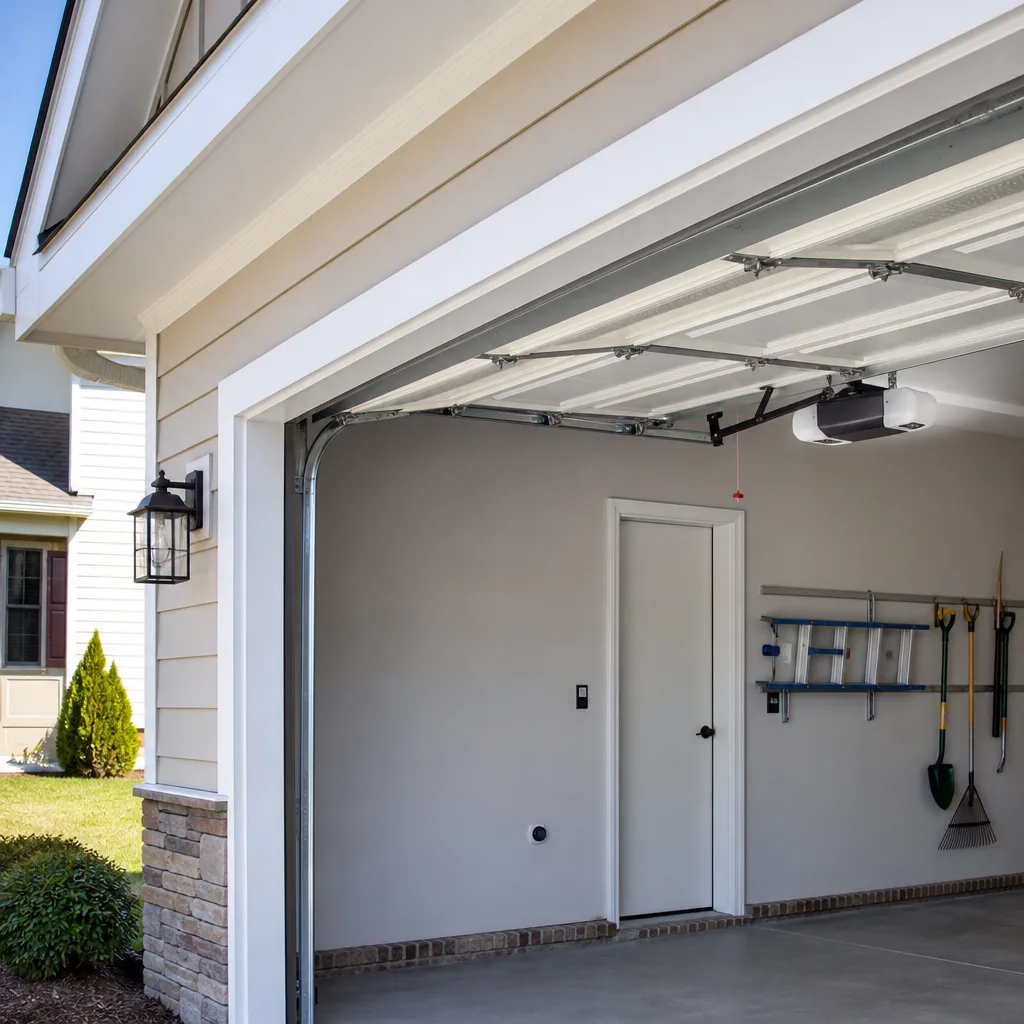 Chamberlain openers
Full 25-point door and opener safety check with every visit - springs, cables, rollers, tracks, and your LiftMaster or Chamberlain opener included
You get a price before we start. It does not change when the truck arrives.
Get your free estimateLiftMaster Opener Logic Board Repair: The San Antonio Owner’s Guide
LiftMaster opener logic board repair in San Antonio typically runs $120 – $320 installed, and in most cases we can have your opener running the same day we visit. The logic board is the brain of your opener – when it fails, the motor won’t respond, remotes stop pairing, and the wall button goes dark. Most San Antonio homeowners discover the problem when the door simply refuses to move, even though the opener still hums or clicks.
The frustrating part is that everything looks fine from the outside. Power is on, the safety sensors have green lights, and the belt or chain is intact. But the board that interprets every button press, remote signal, and safety input has stopped doing its job. That’s the part we replace most often on LiftMaster units between 7 and 14 years old, especially in neighborhoods like Stone Oak and Alamo Heights where the original openers from the early 2010s are now hitting that window.
We’re an independent San Antonio service provider – not affiliated with LiftMaster – but our technicians train on LiftMaster equipment specifically, and we carry the compatible logic boards on the truck for the most common models.
Which LiftMaster Models This Applies To
LiftMaster uses the same logic board architecture across several series, which helps with availability but also creates a compatibility gotcha worth knowing about. The Security+ 2.0 boards (used in the 8500, 8550, 8587, and most 8160-series wall-mount and belt-drive openers made after 2011) are not interchangeable with the older 315 MHz or 390 MHz Security+ boards found in pre-2011 units. If your opener was installed before 2011 and you order a newer replacement board online, it won’t sync with your existing remotes or keypad.
We identify the right board two ways: the model number printed on the opener’s side label, and the board’s own part number stamped on the corner. LiftMaster logic boards carry numbers like 41A5021, 41AC050-1, or 41D7675, and these numbers matter more than the opener’s marketing name. A “LiftMaster Professional” from one year can use a completely different board than a “LiftMaster Professional” from five years later.
On the OEM versus aftermarket question, we default to OEM LiftMaster boards when the opener is under a decade old – the firmware matches your remotes and wall panel cleanly, and you don’t lose features like MyQ connectivity. For openers older than that, where a factory board costs more than the opener is worth, a quality aftermarket equivalent often makes better sense. We’ll show you both options with the price difference before we order anything, and the decision is yours.
Styles & brands we work with
Signs Your LiftMaster Opener Logic Board Is Failing
- Opener clicks or hums but the motor won’t run. The board receives the command but isn’t sending voltage to the motor drive. This is the single most common logic board failure we see in San Antonio, and it’s easy to confuse with a dead capacitor – we test both before quoting the board.
- Wall button works, remotes don’t (or vice versa). When one input path fails but another works, the receiver circuitry on the board is going. Reprogramming helps for a day or two, then it drops again. That’s a board issue, not a remote battery issue.
- Opener loses programming or MyQ connection repeatedly. San Antonio’s summer heat accelerates memory chip degradation on boards mounted in uninsulated garages. If reprogramming your limits or reconnecting MyQ becomes a monthly chore, the board’s memory is failing.
- Safety sensors are aligned and powered, but the door still won’t close. The board isn’t reading the sensor input correctly. A good board will flash a diagnostic code; a failing one just sits there or reverses for no reason you can see.
- Intermittent operation – the door works, then won’t, then works again. Heat expansion cracks solder joints on aging boards, especially here where garage temperatures swing from freezing February mornings to 110° August afternoons. The door behaves until the board heats up, then quits.
See the difference
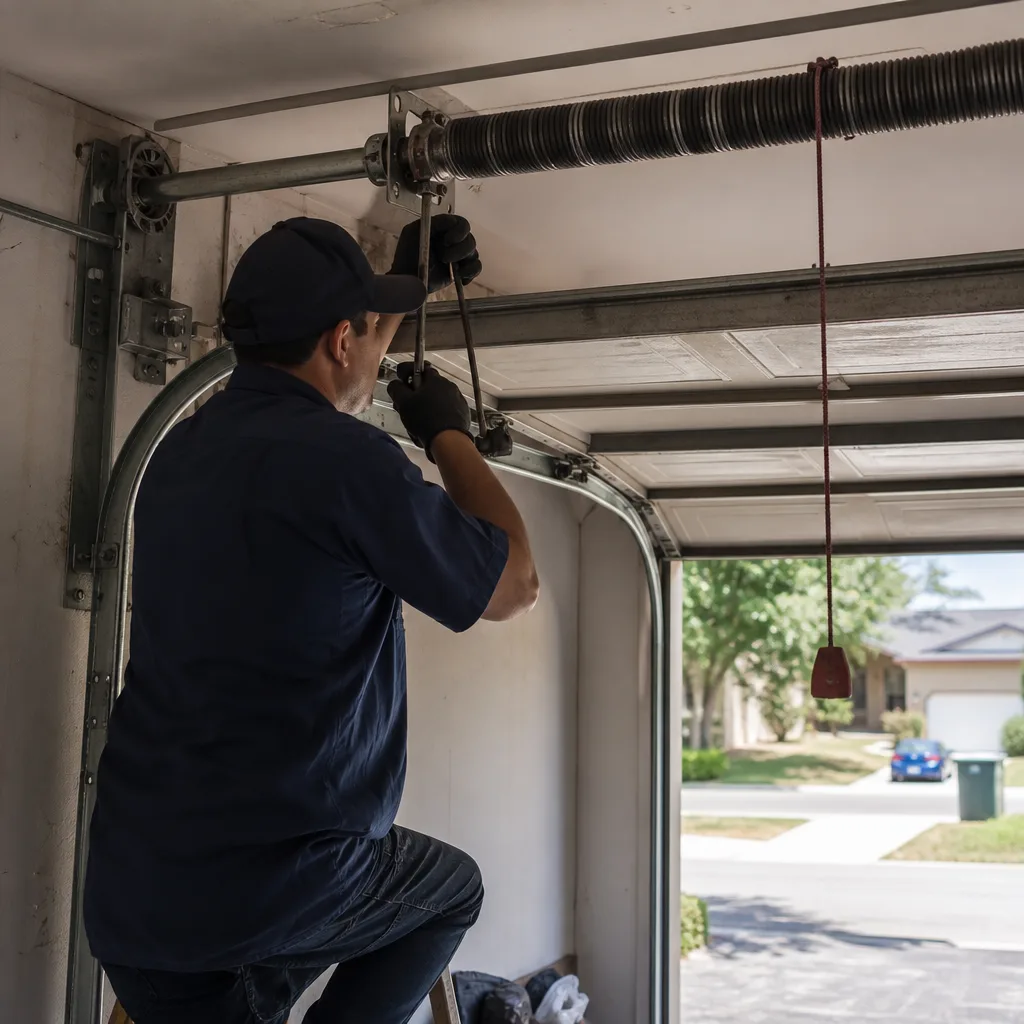 Before
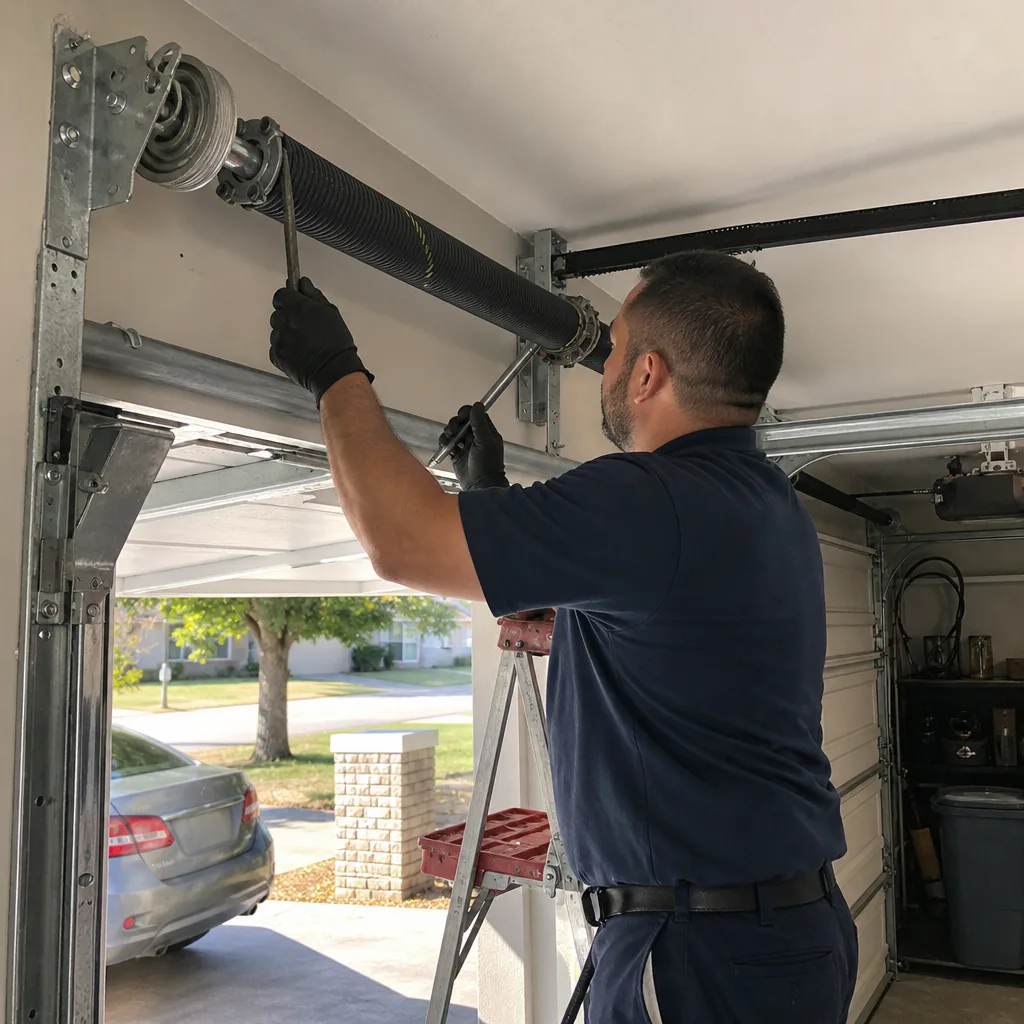 After
After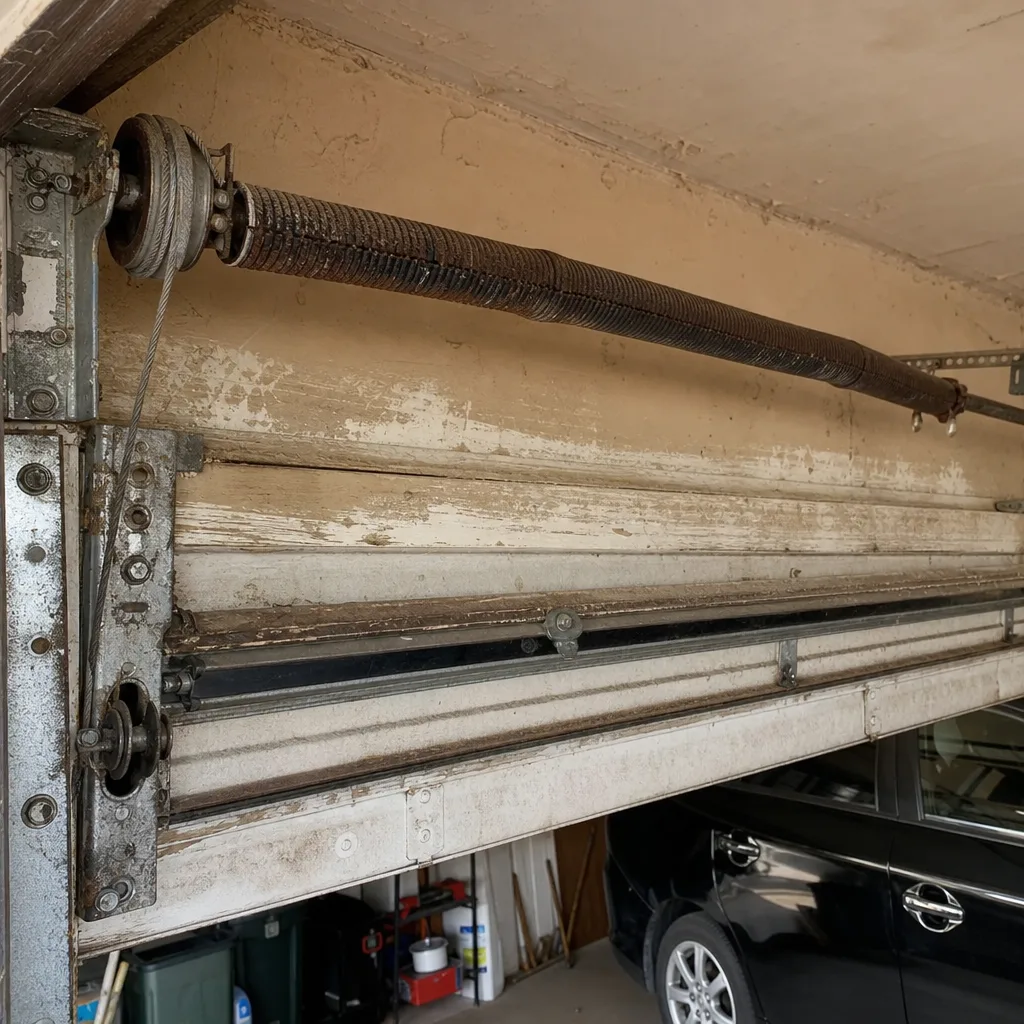 Before
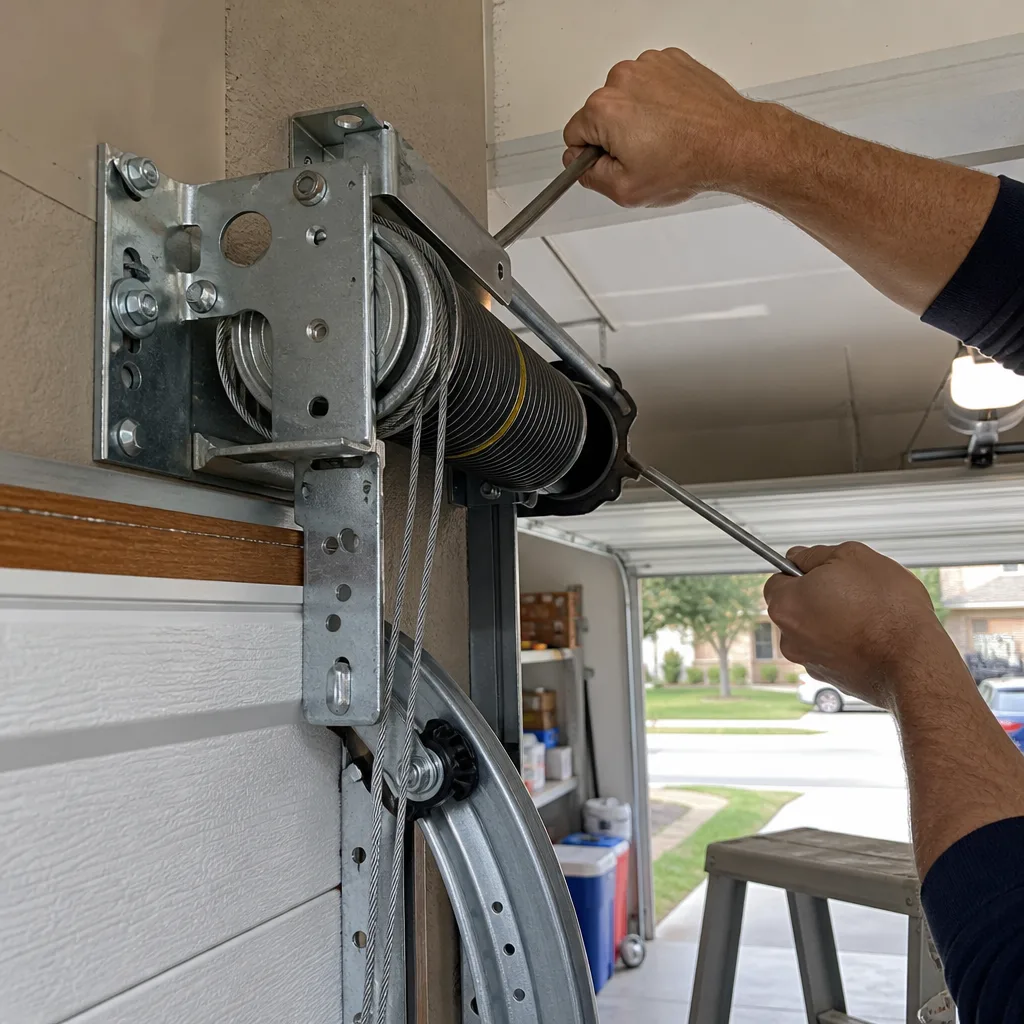 After
After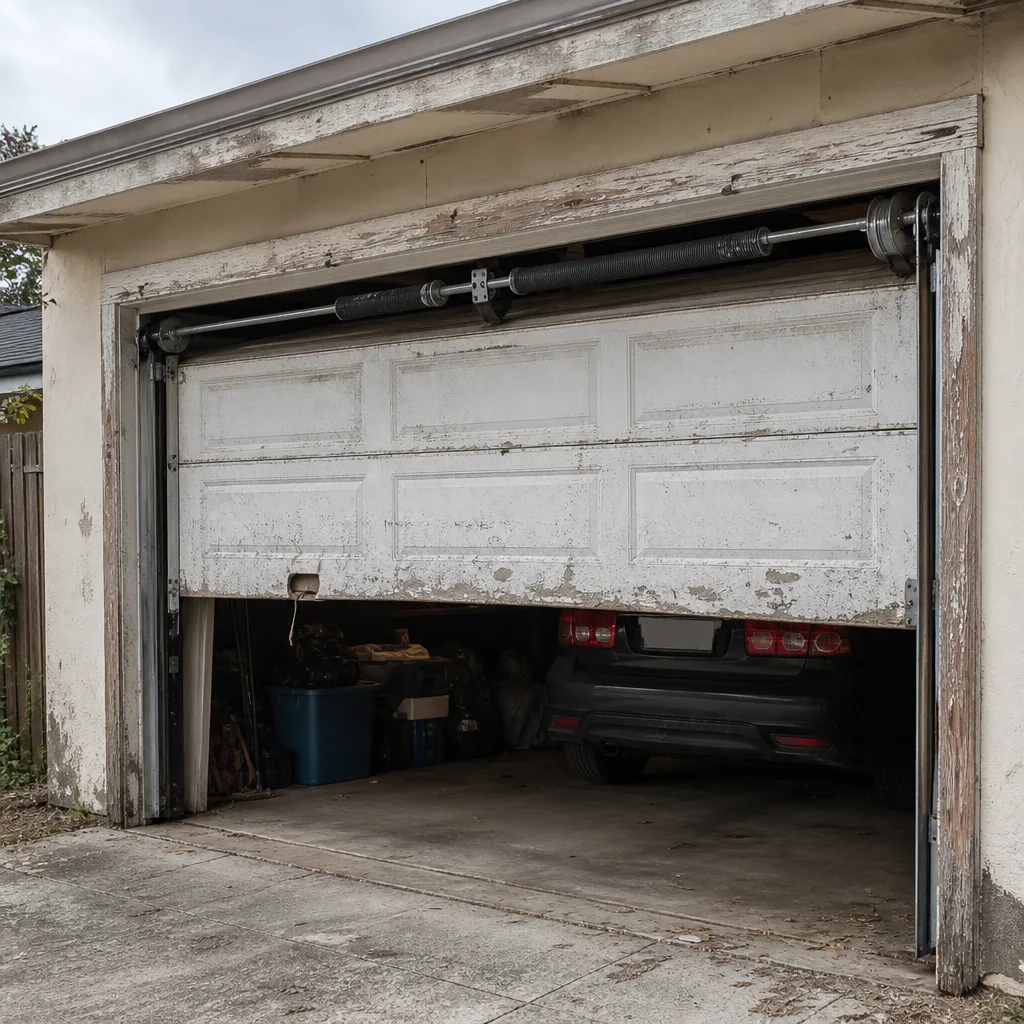 Before
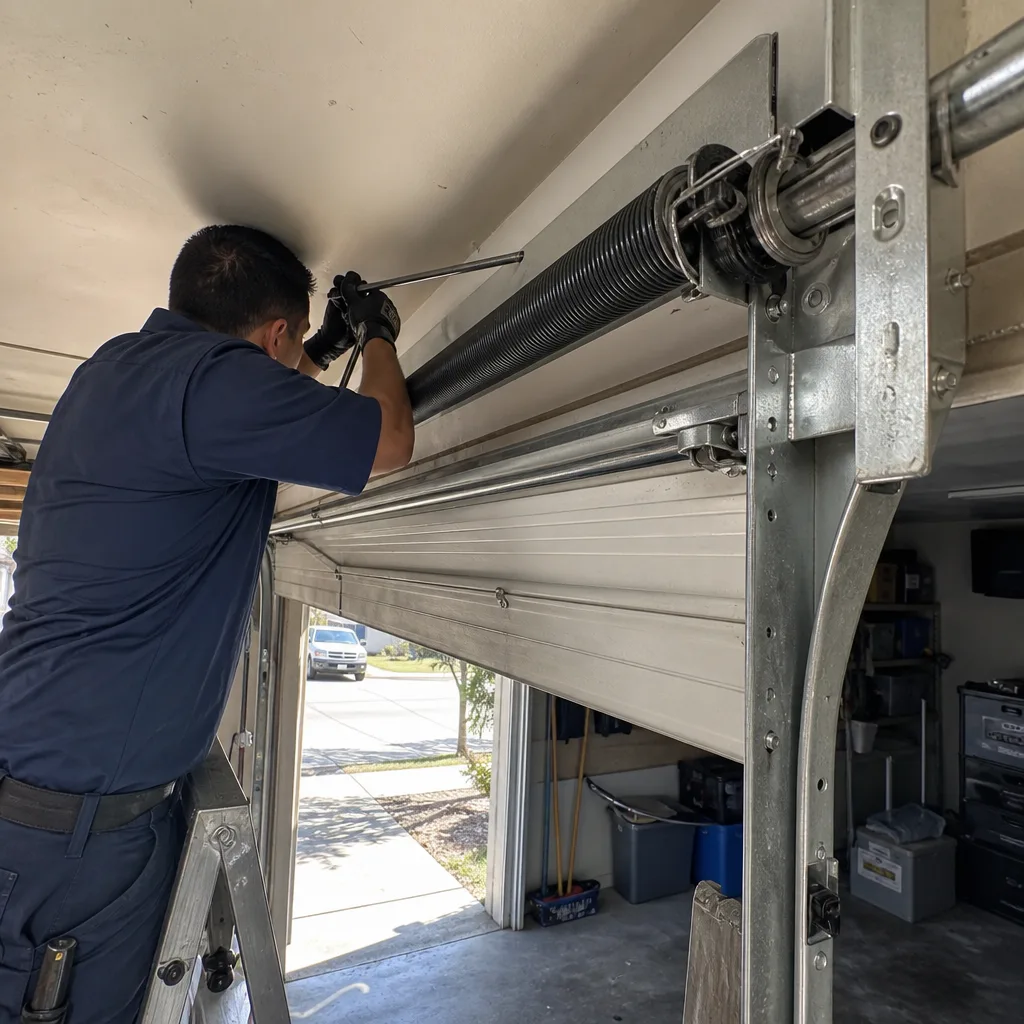 After
AfterReplacement Cost & What’s Included
LiftMaster logic board replacement in San Antonio runs $120 – $320 installed, with the part itself typically $60 – $180 depending on your model and whether we use OEM or aftermarket. The labor covers board removal, inspection of the connecting harnesses and capacitors (a failed capacitor sometimes takes the board with it – we check so you don’t pay for a second visit), installation, limit-setting, remote re-pairing, and system testing.
Where your job falls in the range depends mostly on board generation. Older Security+ boards from before 2011 sit at the lower end. Newer Security+ 2.0 boards with MyQ are at the higher end. We’ll give you the written price before we touch anything, and that price is what you pay – no surprise line items afterward.
Every logic board replacement carries the 365-Day Done Right Promise: if it’s not done right, Fernbrook makes it right. No negotiation, no fine print. If the board fails within that first year, we replace it and reinstall it without charging you again.
DIY or Call Us?
Replacing a LiftMaster logic board on your own is possible in theory, and it involves steps I’d be comfortable walking a careful homeowner through: unplug the unit, remove the cover, unplug the wire harnesses, swap the board, reverse the process. But there’s a safety note here that matters – the logic board sits beside components tied to AC line voltage, and a misrouted harness can damage the new board instantly or create a short that takes out the transformer too. We’ve watched $200 in parts get destroyed by a $20 workaround attempt.
What you can do safely before calling: check that the outlet has power, confirm the safety sensor lights are solid, and check for an error code by counting the blinks on the opener’s LED. That diagnostic information helps us quote the repair accurately over the phone. Beyond that, call us at (806) 602-8374 – we’ll bring the likely board with us so the job is done in one trip.
FAQs
A LiftMaster logic board typically lasts 10 to 15 years in the San Antonio climate, though uninsulated garages with high heat exposure can shorten that to 7 to 10 years as solder joints weaken and memory chips degrade.
Individual components like capacitors or relays can sometimes be repaired, but the cost of micro-soldering and component-level diagnosis on a failed LiftMaster board usually exceeds the price of a new or quality aftermarket replacement, so we recommend replacement in almost every case.
A logic board swap on a LiftMaster opener takes 45 to 90 minutes on site, including removing the old board, installing the replacement, reprogramming limits and remotes, and running a full door cycle test.
We stock the most common LiftMaster Security+ 2.0 logic boards for the 8550, 8587, and 8160-series openers, and keep OEM and aftermarket options available by next-day order for older or less common models. Call (806) 602-8374 and we’ll check the truck before we head out, so the repair is done in one visit.
Written by Jesse Calder, Owner, Fernbrook Garage Doors San Antonio at Fernbrook Garage Doors San Antonio, serving San Antonio and nearby areas.