
Last updated October 17, 2026
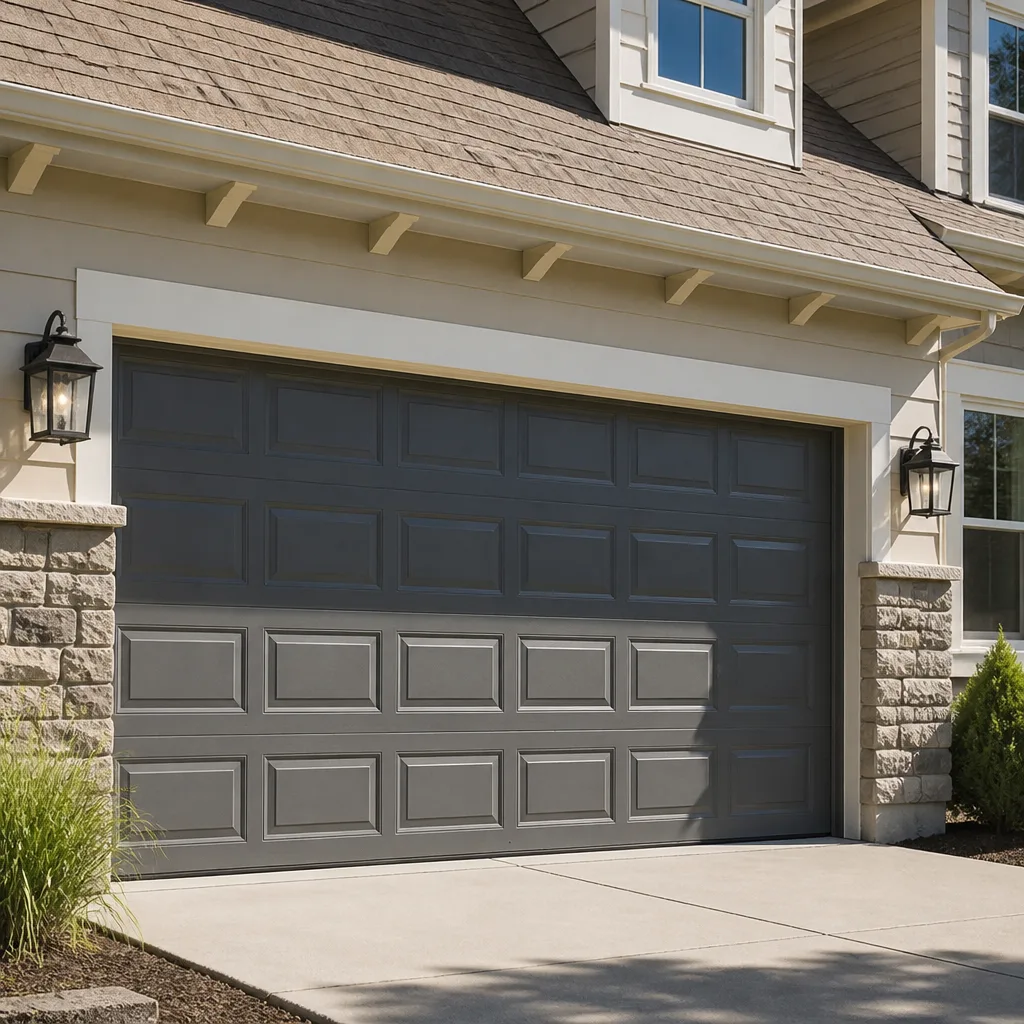 Raised-panel steel
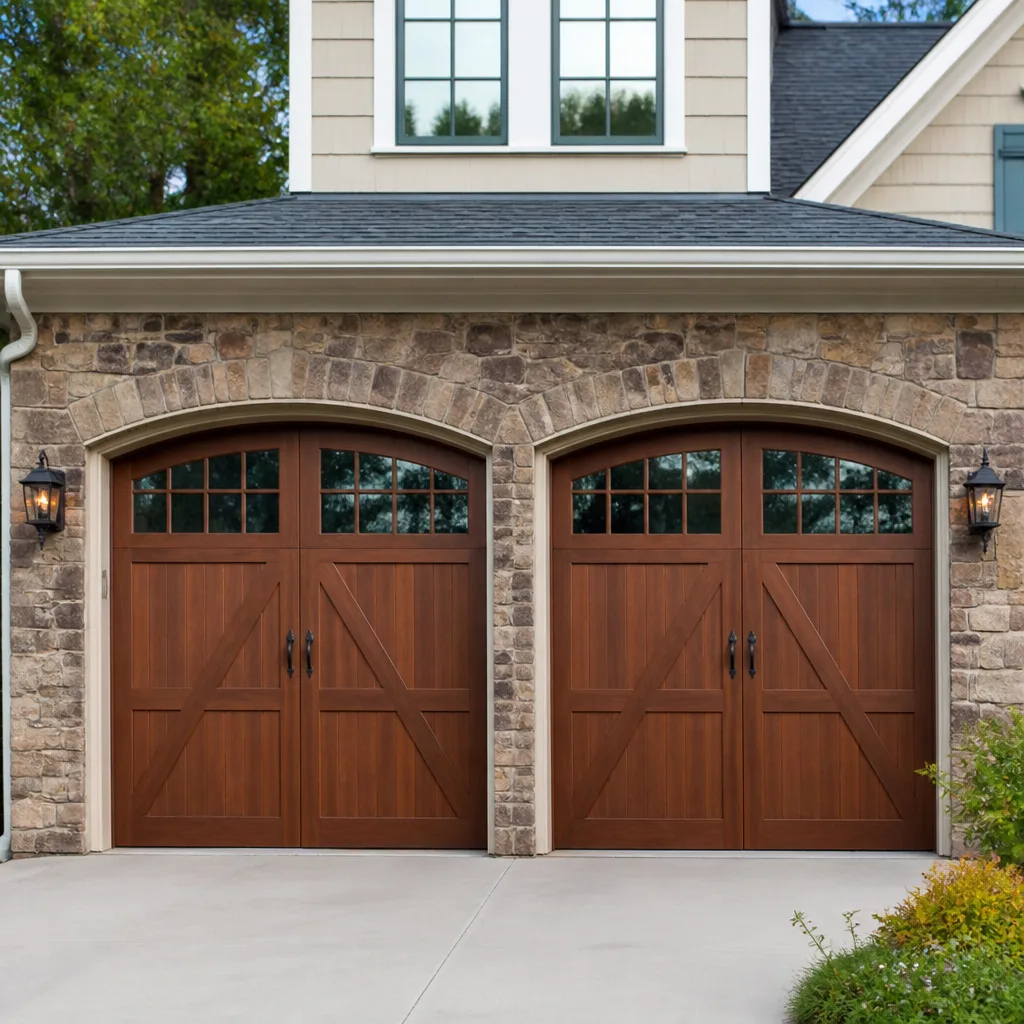 Carriage house
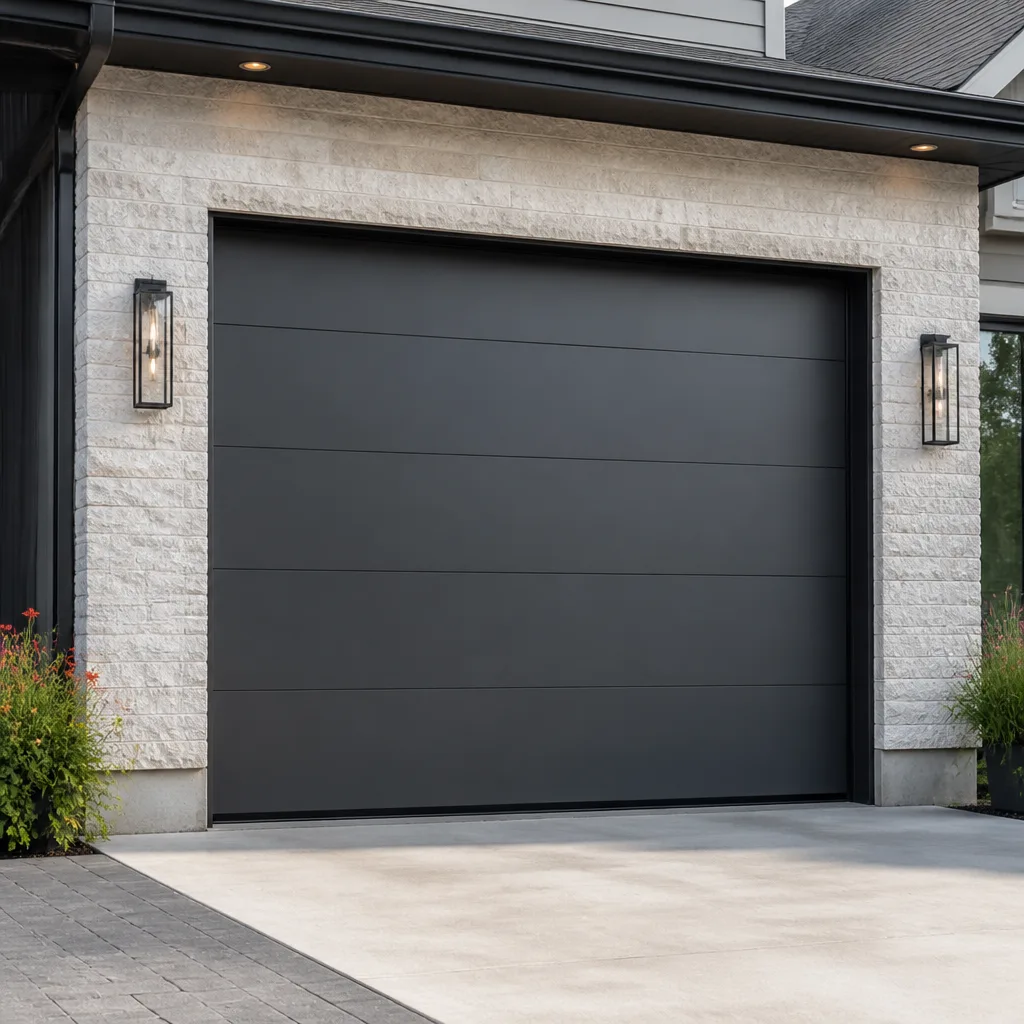 Modern flush
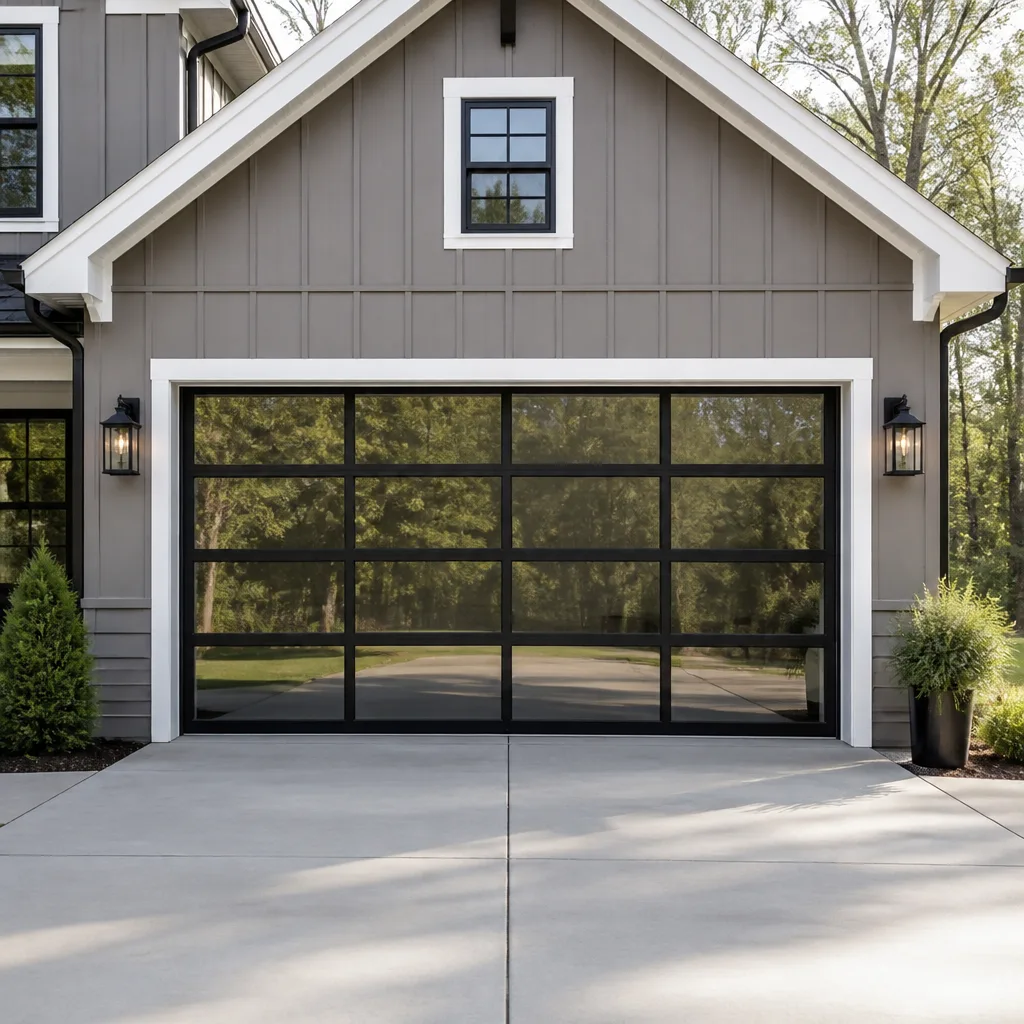 Full-view glass
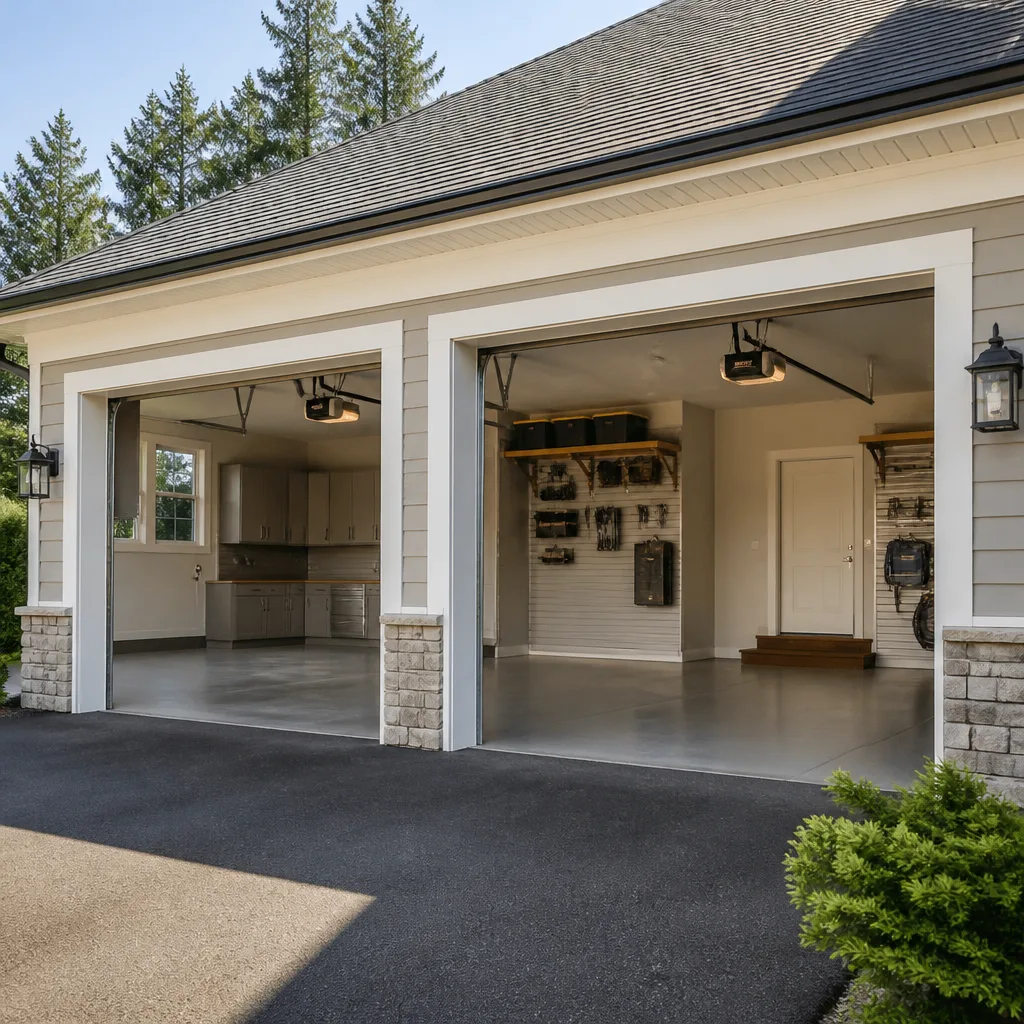 LiftMaster openers
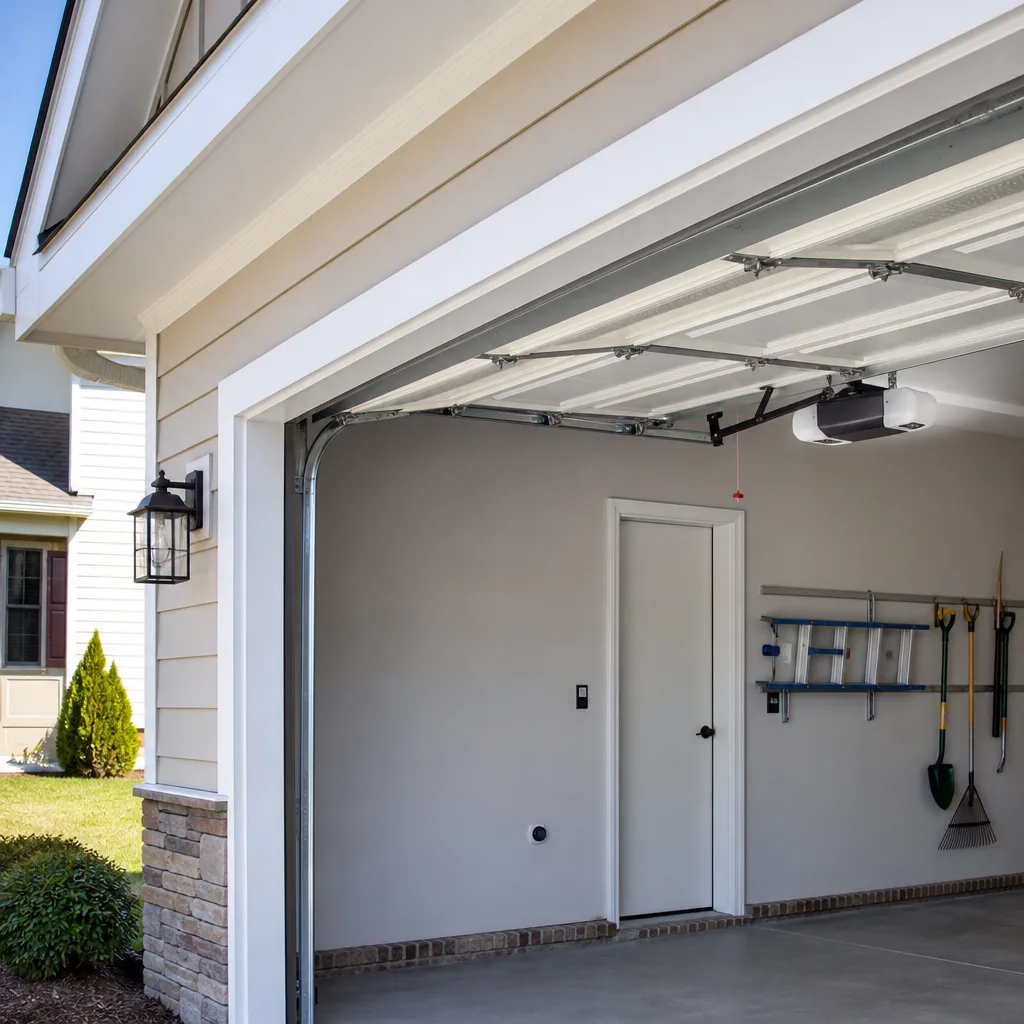 Chamberlain openers
Full 25-point door and opener safety check with every visit - springs, cables, rollers, tracks, and your LiftMaster or Chamberlain opener included
You get a price before we start. It does not change when the truck arrives.
Get your free estimateDIY vs Professional Garage Door: The San Antonio Homeowner’s Decision Guide
Torsion spring replacement sends roughly 30,000 Americans to emergency rooms every year. Not because those homeowners were careless. Because a spring under 150 to 200 pounds of torque doesn’t care how carefully you watched the tutorial. The winding bar slips, the spring snaps, and the window for a second chance closes in about one-tenth of a second. This guide is written for San Antonio homeowners who aren’t afraid of hard work but want an honest answer about where the line sits between a task you can safely do yourself and a task where “I watched a video” isn’t enough protection. For more guides & resources, see our full library. We’ll walk through the specific jobs on both sides of that line, what they actually cost, and how the San Antonio climate changes the equation.
Styles & brands we work with
Quick Answer
Most garage door maintenance tasks are genuinely DIY-appropriate for a careful San Antonio homeowner: lubricating hinges and rollers, cleaning photo-eye sensors, reprogramming remotes, and replacing bottom weatherstripping. But torsion spring replacement, cable repair, and track realignment carry injury risks and failure costs that outweigh any savings. The rule is simple: if the task involves parts under tension, call a professional. For everything else, this guide gives you the exact steps.
Table of Contents
- The Failure Mode Framework: How to Decide
- What You Can and Should Do Yourself
- The Professional-Only List: Why Tension Is the Line
- What a DIY Spring Replacement Actually Costs
- How San Antonio’s Heat Changes DIY Timing
- The Tools Worth Owning (and the One Tool You Shouldn’t Buy)
- How to Photograph a Problem for an Accurate Phone Estimate
- Common Mistakes to Avoid
- When to Call a Professional
- Frequently Asked Questions
- The Bottom Line
The Failure Mode Framework: How to Decide
The DIY-versus-professional question isn’t about skill level. It’s about failure modes. Every repair task has one. A failure mode is what happens when the job goes wrong. Some failure modes are forgiving: you strip a screw, you scratch a panel, you spend another twenty minutes redoing the work. Others aren’t: a cable snaps under load and whips across the garage, a spring releases suddenly and the door drops 200 pounds onto whatever is underneath.
In our experience, the line between “do it yourself” and “call someone” is clean. If the part is under tension, the failure mode is injury. If the part is not under tension, the failure mode is usually inconvenience. Here’s the framework we use when San Antonio homeowners ask us what they should handle themselves.
Safe to DIY when the failure mode is inconvenience:
- Lubricating rollers, hinges, and tracks
- Cleaning and aligning photo-eye sensors
- Reprogramming or replacing opener remotes
- Replacing bottom weatherstripping
- Tightening loose bolts and brackets (when not near tension components)
- Testing the auto-reverse safety mechanism
Professional-only when the failure mode is injury or compounding damage:
- Torsion spring replacement or adjustment
- Extension spring replacement (the older style with side cables)
- Cable replacement or repair
- Track realignment or replacement
- Opener motor replacement (electrical plus weight considerations)
- Any repair involving the bottom bracket, which is anchored to the cable and spring system
The framework holds up because garage door systems are deceptively interconnected. A homeowner might “just” want to replace a cable, but before the cable can come off, the spring has to be unwound. And unwinding a spring is the task where the injury happens. That’s the hidden dependency that makes some jobs seem DIY-friendly when they aren’t. Garage door spring repair in San Antonio is the clearest example: the parts are cheap, the technique looks simple on camera, and the consequences of getting it wrong are not worth the $200 to $350 a professional charges.
The rest of this guide fills in the specifics.
What You Can and Should Do Yourself
Some maintenance tasks don’t just save money when you do them yourself. They extend the life of your door and help you catch problems before they become repairs. These are the tasks we tell every San Antonio homeowner to learn. They’re safe for a person with basic tools, a step ladder, and twenty minutes on a Saturday morning.
1. Lubricating the moving parts
Every garage door has roughly a dozen metal-on-metal contact points: hinges, rollers, and the bearing plates at each end of the torsion tube. When these run dry, friction increases and the opener motor has to work harder. That shortens the opener’s life and creates the grinding noise you hear when the door moves. Use a lithium-based spray grease or a dedicated garage door lubricant. Avoid WD-40, which is a solvent and actually strips existing lubrication. Apply to the hinge pivot points, the roller bearings, and the spring coil surfaces. Wipe away excess with a rag. This takes about fifteen minutes and should be done twice a year in San Antonio’s climate.
2. Cleaning and aligning photo-eye sensors
The photo-eye sensors sit near the floor on each side of the door opening, about six inches up. They project an invisible beam. If the beam is interrupted, the door won’t close, which is a safety feature. Dust, spider webs, and San Antonio’s fine caliche dust can coat the lenses and trigger a false obstruction. Clean the lenses with a soft dry cloth. Check the small indicator lights on each sensor; on most brands, a steady light means aligned, a blinking light means misaligned. If a broom handle or a child’s bike nudged the sensor bracket, gently bend it back until the lights go steady. This fixes an enormous percentage of “my door won’t close” service calls in San Antonio.
3. Reprogramming or replacing remotes
If the wall button works but the remote doesn’t, the problem is almost always the battery, the remote, or the programming. Start with the battery. If that fails, check your opener’s model number, usually printed on the motor housing, and follow the manufacturer’s pairing steps. Most LiftMaster, Chamberlain, and Genie models use a “Learn” button on the motor head that you press, then press the remote button within thirty seconds. If the remote needs replacing, universal remotes are widely available and work with most major brands. This is a five-minute task with zero physical risk. The only thing to be careful about is the model number, since programming steps vary between brands and generations.
4. Replacing the bottom weatherstripping
The rubber seal along the bottom of the door keeps rainwater, dirt, and San Antonio’s summer insects outside where they belong. It wears out and becomes brittle in the heat. Replacement is straightforward: with the door in the up position, slide the old seal out of the aluminum retainer channel, cut a new seal to the width of the door, and slide it in. Use a silicone-based lubricant on the channel to help it slide. This takes forty-five minutes and costs $15 to $30 in materials. The only tool you need is a utility knife and possibly a flathead screwdriver to open the retainer if it’s pinched.
5. Testing the auto-reverse mechanism
This is a safety check, not a repair, but it should be a habit. Place a two-by-four or a roll of paper towels flat in the center of the door opening, then close the door with the wall button. The door should reverse within two seconds of contacting the object. If it doesn’t, the opener’s force setting needs adjustment. On most modern openers, this is a simple dial on the motor housing. The photo-eye break test is separate: wave your hand through the beam while the door is closing, and the door should reverse. If either test fails, address it immediately. This matters more in homes with kids and pets, and it’s a two-minute check.
The Professional-Only List: Why Tension Is the Line
This section explains why certain repairs are not DIY territory. The reason is mechanical, not judgmental. A thoughtful homeowner can understand exactly what these repairs involve and still conclude that the risk profile isn’t acceptable for a weekend project. That’s the right conclusion.
Torsion springs
The torsion spring sits on a metal bar above the door opening. It stores the mechanical energy needed to lift a door that weighs 150 to 300 pounds. When you close the door, the spring winds tighter. When you open it, the spring unwinds and does most of the lifting. The average torsion spring is rated for roughly 10,000 cycles, which translates to 7 to 14 years in a typical San Antonio home, depending on how often the door goes up and down. Replacement requires winding the new spring to a precise number of quarter-turns with a pair of steel winding bars. If a bar slips, the spring releases all of its stored energy in an instant. The winding bar becomes a projectile. Hands, forearms, and faces have been broken. This is the task the ER statistic captures.
Professional spring replacement in San Antonio typically runs $180 to $340 for a pair of springs, including parts and labor. The work takes a technician under an hour. If both springs are old, replacing both at the same time makes sense; they wear at the same rate. We tell homeowners to replace both springs even when only one has snapped.
Cables
The lift cables connect the bottom bracket on each side of the door to the drum at the end of the torsion bar. They bear the door’s full weight when the door is moving. Cables fray and snap, especially on older doors where the cable has been rubbing against a misaligned track. The problem with DIY cable replacement is that you cannot remove or install a cable while the spring still has tension. You must unwind the spring first, replace the cable, then rewind the spring. That puts you in exactly the danger zone described above, and now you’re doing it while managing a door that wants to fall. This is a professional repair, every time.
Track realignment
If the rollers are popping out of the track or the door is binding and jerking, the track itself may be out of alignment. Tracks are anchored to the wall and ceiling with brackets. Aligning them properly requires a level, careful measurement, and an understanding of how the track angle affects door balance. More importantly, track issues often cause cable issues, because the imbalance puts uneven strain on the cables. A homeowner who bends a track back into approximate position without addressing the balance problem will often see the repair fail within months, and the compounding damage can be worse than the original issue.
What a DIY Spring Replacement Actually Costs
The honest cost comparison for a DIY spring attempt isn’t just parts versus service call. It’s parts, tools, time, and the repair that sometimes follows. Let’s break it down with real numbers relevant to San Antonio in 2026.
| Item | DIY Cost | Professional Cost |
|---|---|---|
| Torsion spring pair | $80 – $140 (online or local supply) | Included in service |
| Winding bars (pair) | $25 – $50 | Not needed |
| Additional tools (socket set, vice grips, level) | $0 – $80 depending on what you own | Not needed |
| Time | 2 – 4 hours for a first attempt | Under 1 hour |
| Labor | $0 (if nothing goes wrong) | $100 – $200 |
| Total typical range | $105 – $270 | $180 – $340 |
At first glance, the DIY range overlaps with the professional range. But the table hides the failure case. If the DIY attempt goes wrong, three costs stack on top. First, the door may be stuck in a half-open position with a wound spring, which means an emergency service call, and emergency rates are higher. Second, a slipped winding bar can damage the spring cone or wound bearing plate, requiring replacement of parts beyond the spring itself. Third, an incorrectly wound spring damages the opener gears over time, because the opener is compensating for poor balance. The gear and sprocket replacement runs $120 to $180, a cost that doesn’t surface until weeks or months later.
We’ve seen the aftermath enough times to describe it plainly: a homeowner in Alamo Heights buys a spring online for $90, winds it with the wrong number of turns, and the door crashes down three weeks later, bending the top panel. The panel replacement costs more than the spring repair would have cost in the first place. There’s no judgment in that story. It’s just the way the math works.
How San Antonio’s Heat Changes DIY Timing
San Antonio’s climate shapes garage door maintenance in ways that generic guides overlook. A YouTube tutorial filmed in Ohio in April won’t mention that July asphalt near Loop 410 holds 140 degrees by 2 p.m. That changes both when you work and how well the materials perform.
Lubrication: do it early morning
Garage interiors in San Antonio regularly exceed 110 degrees in July and August. Spray lubricant applied to hot metal flashes off faster, which means it doesn’t penetrate the way it should. The same product applied at 7 a.m., when the garage is still in the 80s, pools into the hinge pivots and roller bearings properly. The practical rule is simple: lubricate before 9 a.m. in summer, or in the evening after the garage has cooled for a couple of hours. This is the kind of climate-specific detail that makes the difference between a lubrication that lasts six months and one that lasts three weeks.
Weatherstripping: install in the warm season, not the cold
Vinyl and rubber weatherstripping become more flexible in heat. Installing new bottom seal in a San Antonio summer is actually easier than in winter, because the material slides through the retainer channel without bunching. The reverse is true for removal of an old brittle seal: the colder the rubber, the more it cracks when you pull it. If you’re replacing weatherstripping, do it in the spring or summer and let the new seal sit in the sun for twenty minutes before installation so it relaxes.
Photo-eye sensors: the dust problem
San Antonio’s caliche dust is alkaline and fine, and it settles on everything. Photo-eye sensor lenses collect a film of it quickly, especially during dry months. In neighborhoods around Stone Oak and the far north side, where limestone is closer to the surface, homes see more of this dust. Cleaning the sensors monthly from May through September is reasonable. This is a once-a-month thirty-second task that prevents a lot of false obstruction stops.
Spring steel and heat fatigue
Springs are rated in cycles, not years, but heat accelerates metal fatigue. A door that cycles four times a day in San Antonio accumulates wear faster than the same door in a milder climate, partly because the heat expands and contracts the steel more aggressively across a single day. The practical takeaway: if your springs are eight years old in San Antonio and you’re starting to notice the door opening more slowly or the opener struggling, the springs are nearing the end of their working life. Planning for replacement is cheaper than an emergency call at 7 a.m. on a Monday with the car stuck inside.
The Tools Worth Owning (and the One Tool You Shouldn’t Buy)
Every San Antonio homeowner who plans to do their own garage door maintenance should own a small set of specific tools. These are tools for maintenance, not for repair. They’re cheap, they last, and they make the maintenance tasks in this guide easier and safer.
Tools worth owning:
- A can of lithium-based spray grease or dedicated garage door lubricant ($10 – $15)
- A soft cloth for wiping down sensors and tracks
- A step ladder tall enough to reach the spring line and opener motor
- A socket set with common metric and SAE sizes (most garage door bolts are 7/16″, 1/2″, or 9/16″)
- A level for checking track alignment and door balance
- A utility knife for weatherstripping work
- A flathead screwdriver for prying open retainer channels
One tool you shouldn’t buy is a pair of winding bars. Winding bars are the steel rods that fit into the holes on a torsion spring’s winding cone. They’re available online for $25 to $50, and the fact that they’re sold to the general public implies that winding a spring yourself is a reasonable project. It isn’t. Owning the bars doesn’t reduce the risk; it creates the impression that you have the right tool and therefore the task is safe. The tool doesn’t protect you from the physics. The only safe use of a winding bar is in the hands of someone who has done this hundreds of times. If you’ve bought a set already, use them as tent stakes or keep them in the truck for a task that doesn’t involve loaded springs.
Some San Antonio homeowners ask whether they should buy a torque wrench for other maintenance. It’s not necessary for garage door work. The bolts that hold brackets and hinges don’t need precision torque settings. Snug plus a quarter turn is sufficient. A torque wrench is a useful tool generally, but it won’t change the outcome of any task on the DIY list above.
How to Photograph a Problem for an Accurate Phone Estimate
When a garage door problem isn’t on the DIY list, the next step is calling a professional. The quality of the phone estimate you get depends on how clearly you can describe and show what’s happening. A few photos can make the difference between a solid price range and a technician arriving to find a problem different from what was described.
- Photograph the whole door from inside the garage, straight on. This shows the technician the door type, brand, and general condition. Stand about ten feet back and get the full door plus the track on both sides.
- Photograph the problem area close up from at least two angles. If a cable is frayed, photograph it from the side and from below. If a spring is broken, the break is usually visible as a gap in the coil. Photograph the gap and the area around it.
- Photograph the opener motor housing from below, showing the model number. The model number is printed on a sticker on the side or bottom of the motor head. This matters for any opener repair, because the technician needs to know the brand, horsepower, and generation.
- Photograph the door from outside at the closed position. This catches panel condition, weatherstripping wear, and any misalignment at the bottom corners. If the door sits unevenly, even by an inch, the photo shows it.
- Note the sound and the behavior in a short written description. “Grinds when opening, worse in the morning” or “door reverses immediately when closing” tells a technician more than “it’s broken.” If you can record a short video of the door opening and closing with the sound, even better.
Sending these photos by text or email before the visit means the technician arrives with the right parts on the truck. For garage door repair in San Antonio, that’s the difference between a same-visit fix and a second trip. It also means the phone estimate you get is anchored to what the technician can see, not a guess.
We respect the homes we work in, and that starts with respecting a homeowner’s time. Clear photos mean fewer surprises for everyone.
Common Mistakes to Avoid
- Using WD-40 instead of a garage-door-specific lubricant. WD-40 is a penetrating solvent, not a long-term lubricant. It strips lubrication from the very parts you’re trying to protect. Use lithium grease or a product labeled specifically for garage doors.
- Adjusting the spring yourself when the door won’t balance. A door that rises a few inches on its own or slams shut has a spring tension problem. Adjusting tension means adding or removing quarter-turns. That’s professional work. Call someone who does it every day.
- Replacing one spring when the other is the same age. Springs wear in pairs because they cycle together. When one fails, the other is close behind. Replacing both saves the second service call and usually gets you a lower per-spring price.
- Ignoring the auto-reverse test after any work on or near the door. The auto-reverse mechanism keeps a closing door from injuring a child or pet. Test it after any maintenance, even if it’s just lubrication. It’s a two-minute habit that should be non-negotiable in a house with kids.
- Bending a misaligned track back by hand and calling it done. Tracks that are out of alignment are usually a symptom of a bracket issue or a door balance problem. Manhandling the track into approximate position doesn’t fix the root cause and can make the problem worse.
- Buying the cheapest replacement parts online without matching the spec. A spring is not just a spring. Wire diameter, inside diameter, length, and wind direction all have to match the door’s weight and height. The wrong spring either won’t lift the door or will cycle out prematurely. Professionals cross-reference the door weight before selecting.
- Working on a door with the opener still connected and engaged. If you’re doing any work that involves touching the door’s mechanism, pull the red emergency release cord first and disconnect the opener. A door that opens mid-maintenance because someone pressed the remote is a dangerous surprise.
When to Call a Professional
Call a professional when the task involves a spring, a cable, a track, or any part connected to the spring and cable system. That’s the clean line. Call when the door is stuck in the up position with the car trapped inside, because that usually means a spring failure. Call when the door jerks, binds, or makes a sound like grinding metal, because those are signs of a mechanical problem that will not improve with use. Call when the auto-reverse test fails, because the fix is an opener force adjustment that takes a technician ten minutes and protects everyone in the house.
Fernbrook Garage Doors San Antonio offers free estimates in San Antonio. Call (806) 602-8374, and a live person answers. No voicemail tree, no next-day callback. We’ll give you a written price before any work begins, and that’s the price you pay, no exceptions. We also offer garage door installation in San Antonio for homeowners whose doors have reached the end of their useful life.
Frequently Asked Questions
No. Torsion and extension springs hold the full weight of the door under high tension, and if the winding bar slips during installation or removal, the released energy can cause serious injury. Professional spring replacement in San Antonio is a quick job for a trained technician and costs less than an emergency room visit. Call (806) 602-8374 for an exact quote.
Professional torsion spring replacement in San Antonio typically runs $180 to $340 for both springs, including parts and labor, with most homeowners paying on the lower end when both springs are replaced at the same time. Your exact quote depends on your door’s weight and spring spec. Estimates are free.
You can safely lubricate hinges, rollers, and springs with a lithium-based lubricant, clean and realign photo-eye sensors, reprogram remotes, replace bottom weatherstripping, tighten loose bolts, and test the auto-reverse mechanism. These tasks don’t involve tensioned parts and have safe failure modes.
Most of the time, the photo-eye sensors are dirty or misaligned. San Antonio’s fine caliche dust coats sensor lenses quickly, especially in dry months. Clean the lenses with a soft cloth and check that the indicator lights are steady. If the problem persists, the sensor wiring or the opener’s force setting may need attention.
Yes. The daily heating and cooling of steel in San Antonio’s climate accelerates metal fatigue, which means springs in this region may cycle out on the earlier end of their rated life. If your springs are eight years old and the door is moving slowly, plan for replacement before the spring breaks at an inconvenient time.
Not with Fernbrook Garage Doors San Antonio. Our technicians deliver a written price before any work begins, every visit, no exceptions. That price reflects what the technician can see. If additional problems surface during repair, they’re discussed with a new written price before that work proceeds. No surprise invoices.
The Bottom Line
The DIY-versus-professional question for garage doors has a cleaner answer than most home improvement debates. Maintenance tasks with forgiving failure modes – lubrication, sensor cleaning, remote programming, weatherstripping – are excellent ways for a San Antonio homeowner to save money and stay familiar with their garage door system. Repair tasks involving tensioned parts – springs, cables, tracks connected to the spring system – are professional work, not because the skills are impossible to learn but because the cost of a mistake is not acceptable. When you hit that line, call Fernbrook Garage Doors San Antonio at (806) 602-8374. A live person answers, the price is written before any work starts, and the job is done right, with shoe covers on your floors and a photo of the clean-up before we leave. That’s how we’ve done it since 2002.
Written by Jesse Calder, Owner at Fernbrook Garage Doors San Antonio, serving San Antonio since 2002.
See the difference
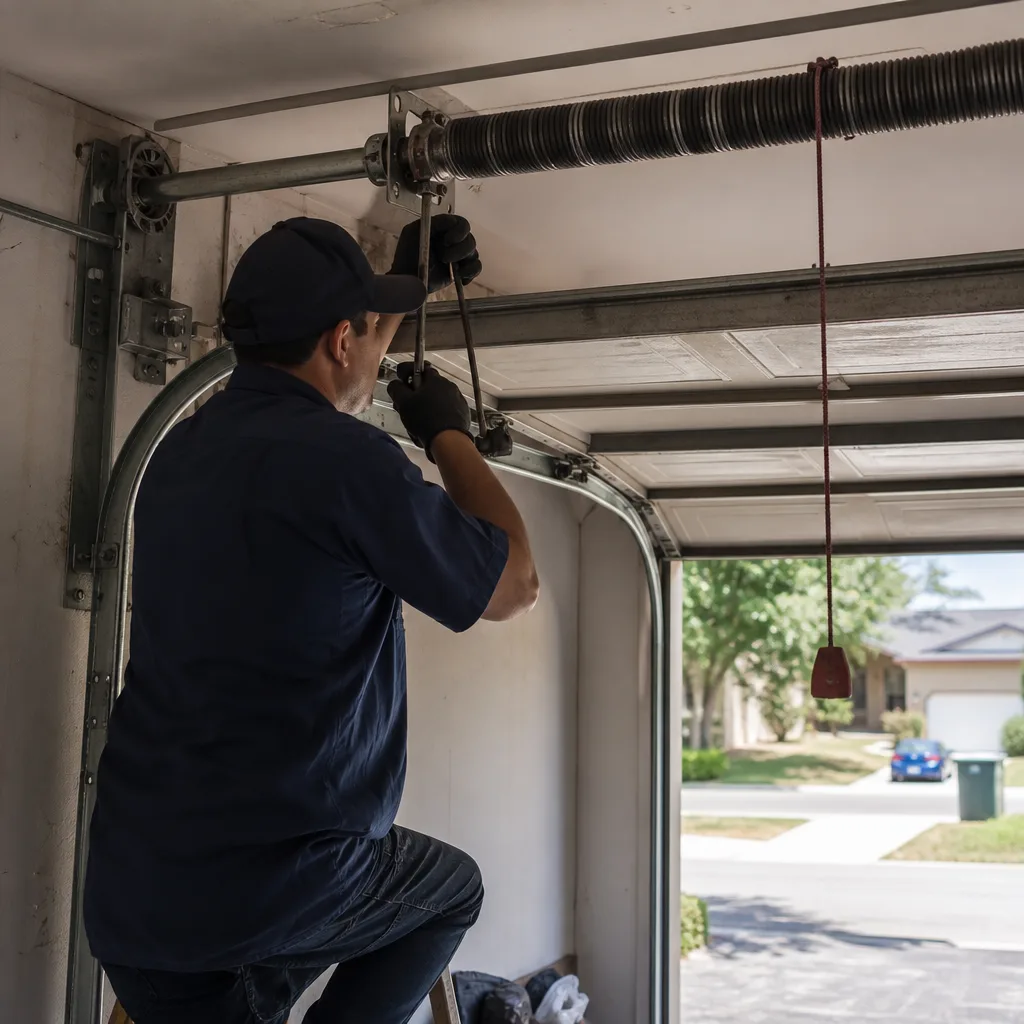 Before
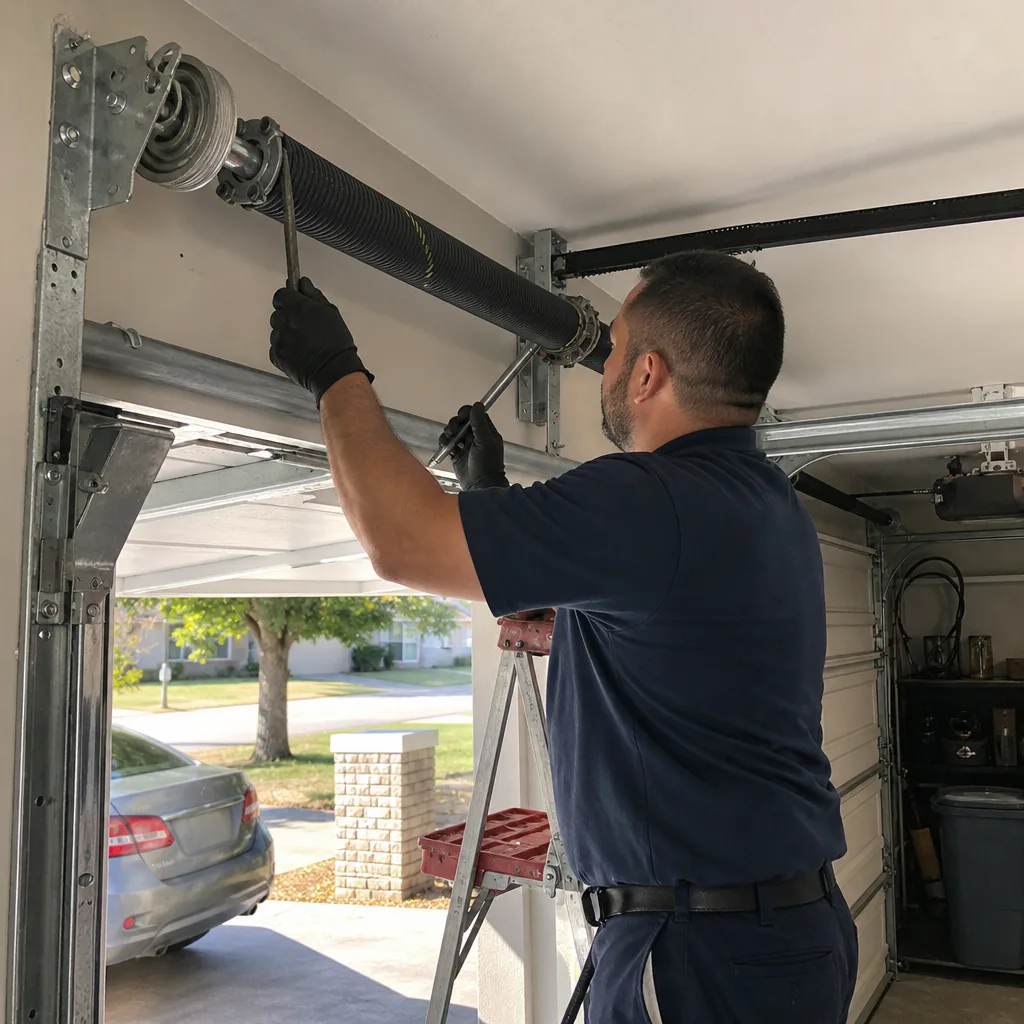 After
After Before
 After
After Before
 After
After